How to Protect Furniture While Painting
Fresh paint can completely change the feel of a room. Walls look brighter, trim looks cleaner, and the entire space feels updated. Paint projects also carry one common risk: accidental drips, dust, and splatter landing on furniture. Chairs, sofas, wood tables, and electronics can all be damaged during a project when protection steps are ignored.
Professional painters treat preparation as seriously as the painting itself. Careful protection of furniture prevents permanent stains, surface scratches, and costly damage. Homeowners who plan to paint on their own benefit greatly from following the same preparation methods used by experienced crews.
Homeowners who prefer a completely managed project often hire professionals such as Alpha Painting LLC to handle preparation, painting, and cleanup so furniture and flooring remain protected throughout the job. Painters who work daily in residential spaces understand how easily overspray or roller splatter can reach surfaces that appear far from the wall.
Table of Contents
Why Furniture Protection Matters Before Any Painting Project
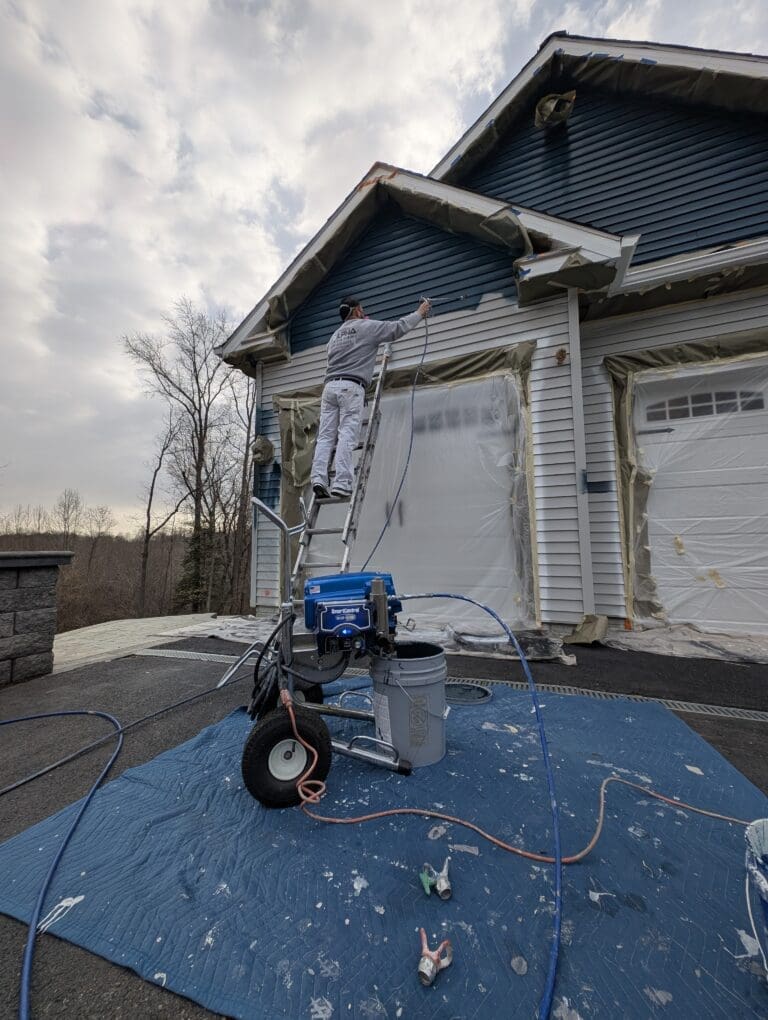
Paint behaves differently depending on the surface, humidity level, and application method. Rollers can flick small droplets several feet from the wall. Brushes can drip if overloaded. Spray equipment produces fine particles that travel farther than expected.
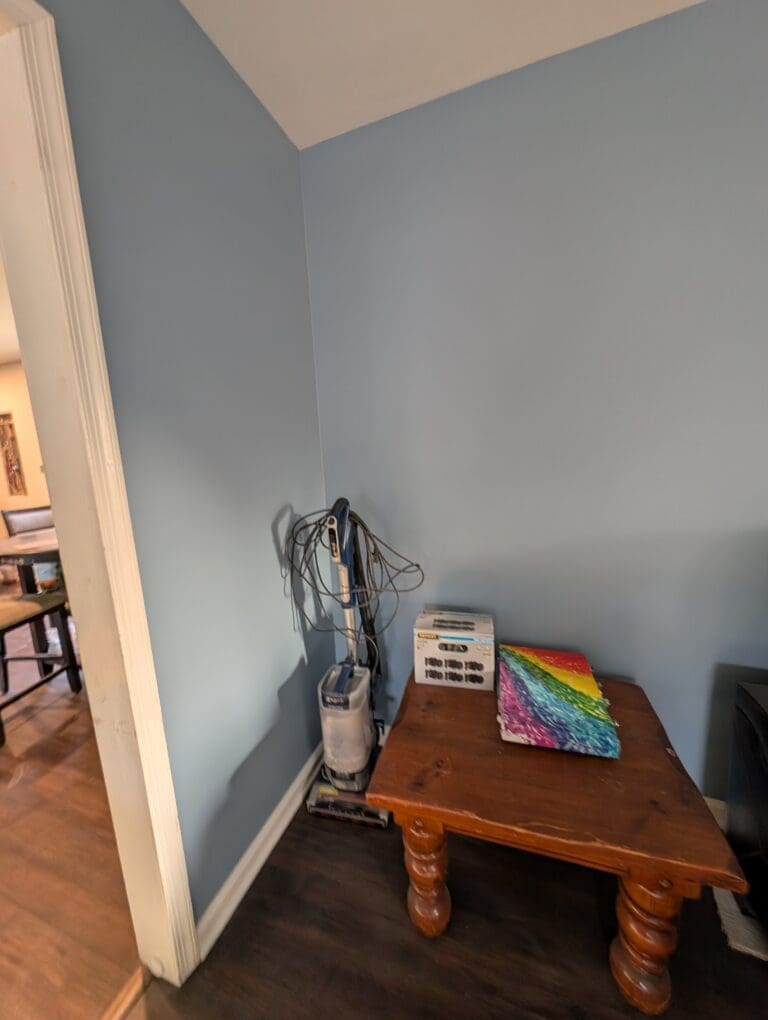
Furniture placed only a few feet away from the wall remains vulnerable to these airborne particles. Fabric furniture absorbs paint instantly and rarely cleans completely afterward. Wood furniture may seem durable, yet latex paint bonds quickly to finished surfaces and leaves visible marks.
Dust also becomes an issue during painting preparation. Sanding trim or patching drywall releases fine particles that settle across the room. These particles cling to upholstery, electronics, and decorative items. Paint applied over dusty furniture surfaces later becomes extremely difficult to remove.
Furniture protection also prevents accidental damage caused by ladders, extension poles, and paint buckets. Crowded work areas increase the chance of bumping or scraping furniture. Clearing and covering the space reduces risk and allows painters to move freely.
Thoughtful preparation saves time during cleanup and protects valuable household items from permanent damage.
Start by Clearing the Room as Much as Possible
Professional painters rarely work around furniture when it can be moved out of the room. Removing items from the workspace creates a cleaner and safer environment for painting.
Small furniture should be relocated to another room whenever possible. Chairs, side tables, lamps, decor pieces, and electronics are quick to remove and eliminate several obstacles from the work area. Empty rooms allow painters to move ladders and tools without worrying about collisions.
Large furniture pieces sometimes cannot be removed easily. Heavy sofas, entertainment centers, and large cabinets may need to remain inside the room. These items should be moved toward the center of the space, leaving at least three feet of clearance from each wall. That distance gives painters enough room to work along baseboards, corners, and ceilings.
Spacing furniture in the middle of the room also allows it to be covered more effectively with protective materials. Paint droplets tend to travel outward from walls rather than inward toward the center.
Rooms that cannot be cleared fully require extra attention when covering furniture, yet the effort remains worthwhile.
Use the Right Type of Drop Cloth for Furniture Protection
Drop cloths serve as the main barrier between paint and furniture. Not all coverings offer the same level of protection.
Canvas drop cloths are widely used by professional painters because they stay in place and absorb paint drips rather than letting them pool on the surface. Fabric material prevents paint from running across the cloth and leaking onto furniture below. Heavy canvas also resists tearing when placed over sharp edges or corners.
Plastic sheets offer another option and are commonly sold at hardware stores. Plastic works well for protecting furniture from airborne paint particles. Lightweight plastic also covers large pieces quickly. Movement inside the room can shift plastic sheets easily, which sometimes exposes furniture if not secured properly.
Protective materials should extend completely over the furniture and reach the floor. Partial coverage leaves gaps where paint can reach exposed surfaces.
Secure Protective Coverings to Prevent Shifting
Loose coverings rarely stay in place during an active paint project. Movement inside the room causes air circulation that can lift plastic sheets or slide drop cloths off furniture.
Painter’s tape provides a simple method to secure coverings. Tape can hold plastic sheets along the base of a sofa or attach coverings to table legs so they remain stable. Tape also works well for sealing seams where two sheets overlap.
Stretch wrap provides another useful method for protecting certain furniture pieces. Large plastic rolls designed for moving furniture wrap tightly around chairs, couches, and cabinets. This creates a sealed barrier that prevents paint from reaching upholstery or finished wood.
Tall furniture such as bookcases benefits from wrapping combined with a drop cloth placed over the top. That added layer blocks paint falling from ceiling edges or crown molding areas.
Furniture protection should feel stable enough that it remains intact even when someone brushes against it while working.
Protect Delicate Surfaces and Upholstery Carefully
Fabric furniture requires additional protection compared to hard surfaces. Upholstery absorbs paint quickly, making removal extremely difficult once it dries.
Sofas, recliners, and fabric chairs should always be wrapped fully in plastic before adding drop cloths. Plastic prevents paint from soaking into fabric fibers. Canvas cloths alone may allow moisture to pass through if a large spill occurs.
Leather furniture also benefits from plastic wrapping. Latex paint bonds strongly to leather and can leave permanent stains if not removed immediately.
Wood furniture surfaces should be covered with soft materials before plastic wrapping. Direct plastic contact against polished wood sometimes causes friction marks during movement. A thin cotton sheet or fabric layer protects the finish before adding plastic.
Electronics deserve similar protection. Televisions, speakers, and gaming systems attract dust during sanding and patching stages. Plastic covers prevent dust buildup that may affect ventilation openings or internal components.
Careful wrapping protects items that cannot easily be replaced.
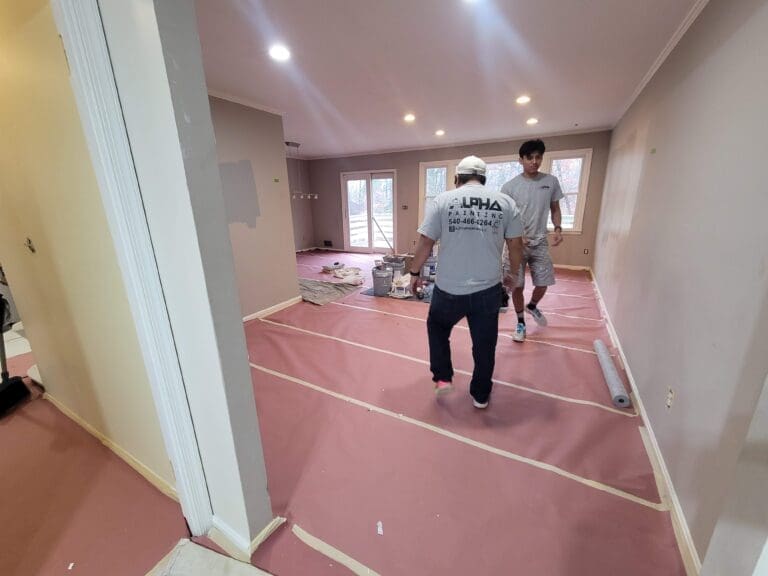
Manage Floor Protection to Safeguard Furniture Nearby
Furniture protection often depends on proper floor coverage. Paint spills that land on unprotected floors can splash upward onto nearby furniture surfaces.
Canvas drop cloths should extend from the wall all the way toward the center of the room. Larger rooms may require overlapping cloths to ensure continuous coverage.
Hardwood floors benefit from rosin paper or builder’s paper placed beneath canvas cloths. Paper provides an extra moisture barrier and helps prevent paint from seeping through fabric layers.
Edges of floor coverings should be taped lightly so they remain flat. Raised edges create tripping hazards that can cause paint buckets or rollers to fall onto nearby furniture.
Clean walking paths also reduce accidental contact with covered furniture. Painters move constantly during a project, and stable floor protection keeps the workspace organized.
Control Dust During Surface Preparation
Surface preparation often produces more debris than the painting itself. Sanding drywall patches, smoothing trim, and scraping loose paint all release dust that spreads quickly throughout the room.
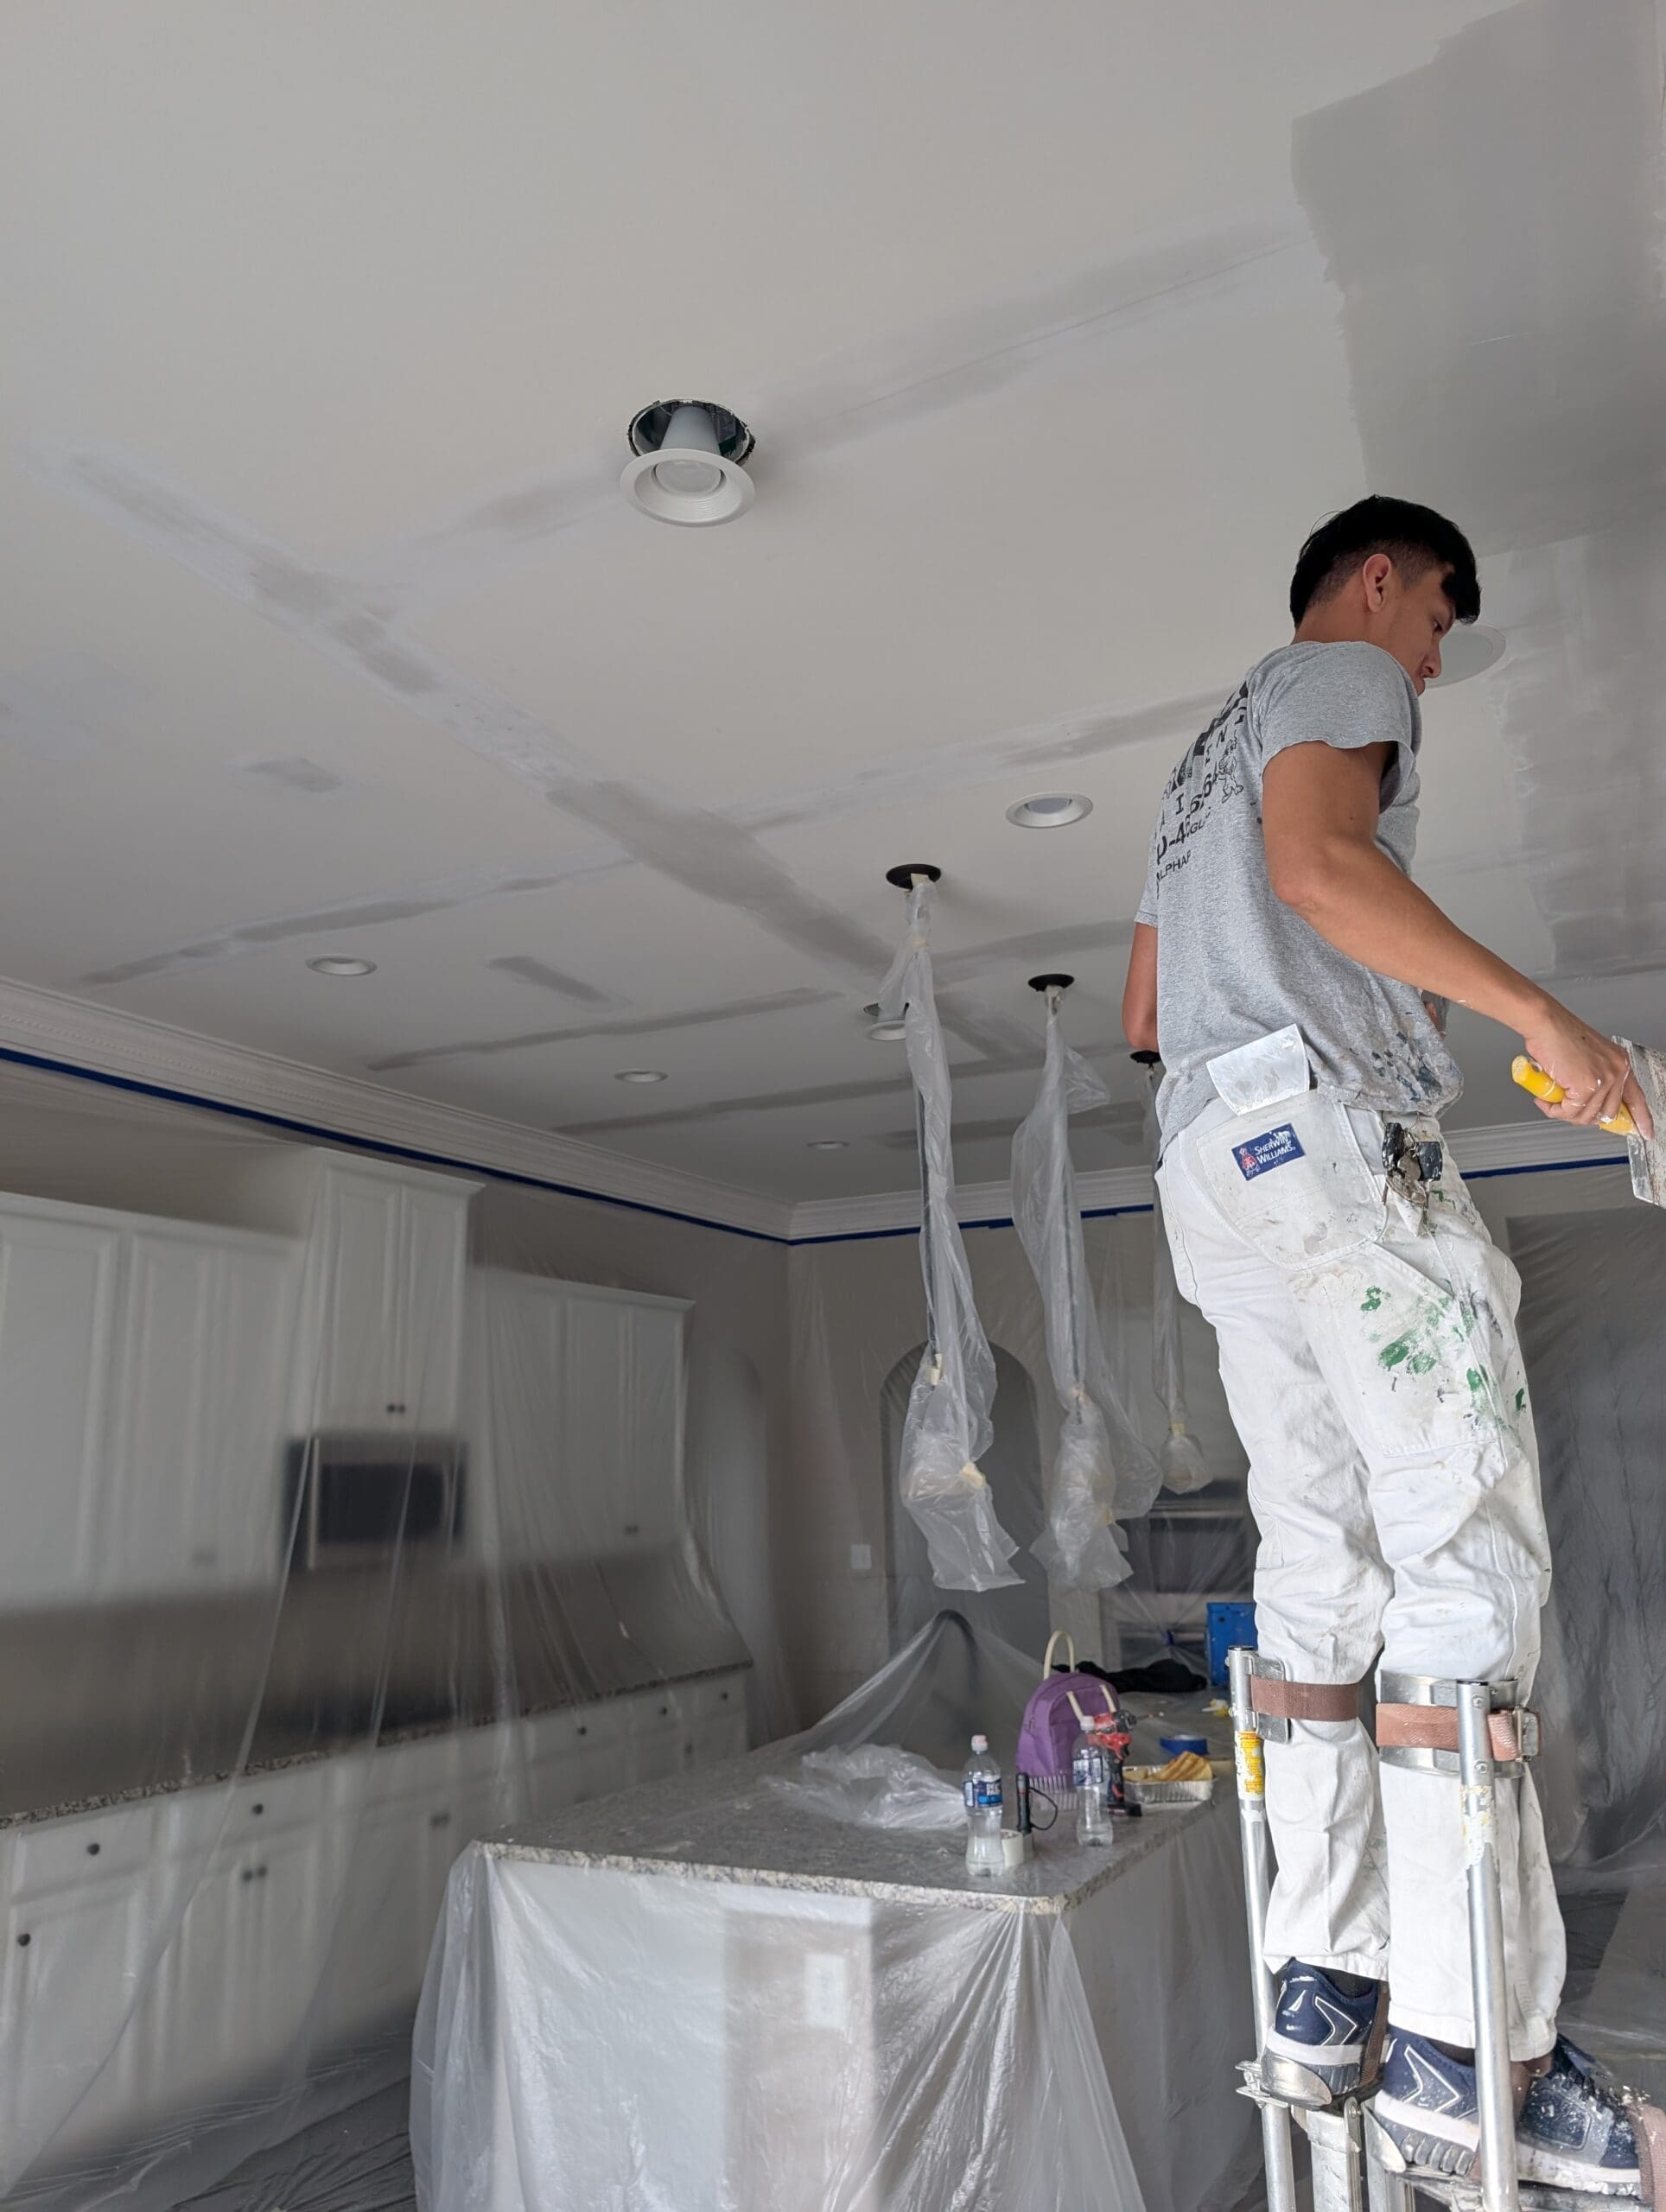
Dust control begins with covering furniture before preparation starts. Plastic sheeting works best during sanding stages because it seals items completely.
Doorways may be covered with temporary plastic barriers to limit dust traveling to other rooms. HVAC vents should also be covered during heavy sanding to prevent dust from circulating through the house.
Cleaning tools such as shop vacuums equipped with HEPA filters help remove particles immediately after sanding. Vacuuming furniture coverings before removing them prevents dust from falling onto furniture surfaces later.
Proper dust management keeps furniture clean and improves paint adhesion on walls and trim.
Maintain Protection Throughout the Entire Painting Process
Furniture protection should remain in place until all painting tasks are finished. Some homeowners remove coverings too early once the walls appear complete.
Touch-up work, trim painting, and ceiling edges often happen later in the process. These steps still carry a risk of splatter or drips. Keeping furniture wrapped until the final cleanup prevents last-minute accidents.
Paint that feels dry to the touch may still transfer if brushed against furniture. Latex paints require several hours before reaching a stable stage where contact will not leave marks.
Careful removal of coverings also matters. Drop cloths should be folded inward so dried paint flakes remain inside the cloth rather than falling onto furniture or floors.
Cleaning the room slowly ensures that furniture returns to its place without picking up paint residue from the workspace.
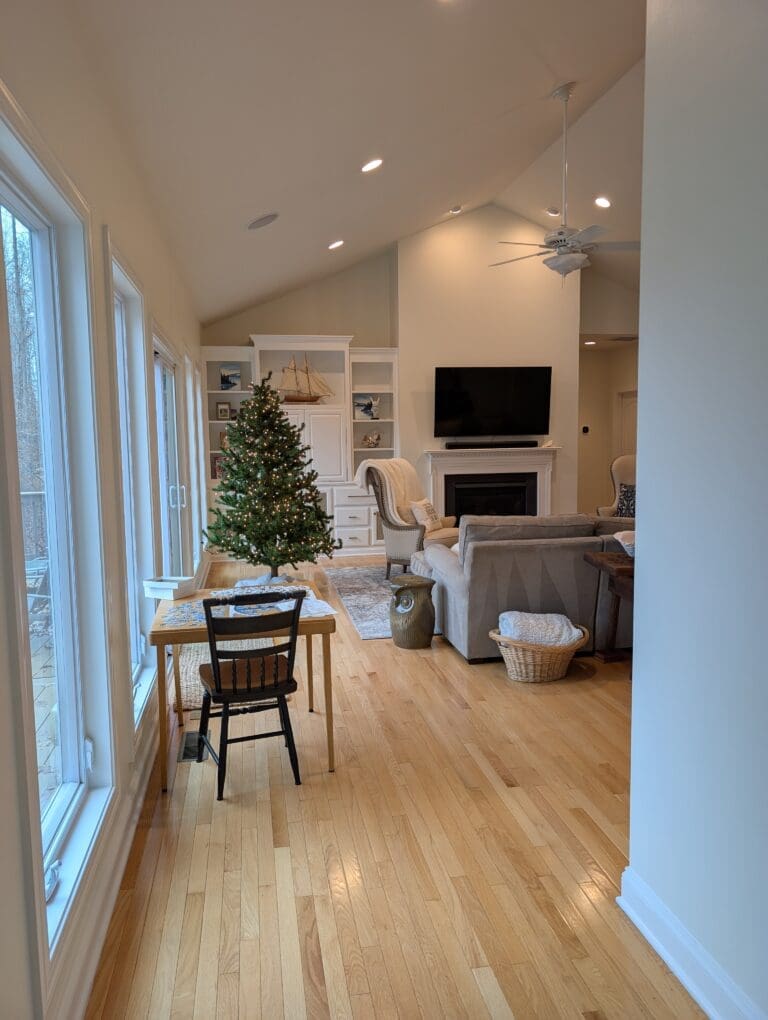
Final Thoughts
Successful paint projects rely heavily on preparation. Protecting furniture requires planning, patience, and the right materials before the first brush touches the wall.
Moving furniture out of the room, wrapping remaining pieces carefully, securing drop cloths, and controlling dust all contribute to a clean workspace. These steps prevent damage while allowing painters to focus on smooth, professional finishes.
Painting should improve a space rather than create repair work afterward. Careful furniture protection keeps the project organized and ensures that newly painted walls remain the only noticeable change in the room.