Interior Painting Prep 101: What Actually Makes a Paint Job Last
Fresh paint always gets the attention, yet the prep work behind it decides how long that finish will hold up. Walls that look smooth, colors that stay true, and finishes that resist wear all come down to what happens before the first brush touches the surface. Skipping or rushing prep leads to peeling, uneven sheen, and visible flaws that no premium paint can hide.
Professional painters treat preparation as the foundation of the entire project. Alpha Painting LLC approaches interior work with that same mindset, focusing heavily on surface readiness before any coating is applied. That single step separates a quick cosmetic upgrade from a finish that holds up for years.
Table of Contents
Why Preparation Matters More Than Paint
Paint doesn’t fail randomly. It fails because it loses adhesion, gets applied over unstable surfaces, or tries to cover issues that should have been fixed first. Walls collect dust, oils, minor dents, and previous coating inconsistencies over time. Paint applied over those conditions bonds poorly and begins to break down faster than expected.
A well-prepped wall allows paint to grip evenly across the surface. That grip controls how the paint levels, how it reflects light, and how resistant it becomes to scuffs and cleaning. Even high-end paints won’t perform as designed if they are applied over dirt, glossy residue, or damaged drywall.
Preparation also plays a huge role in appearance. Light hitting a wall will highlight every imperfection. Nail pops, patched areas, or sanding marks become obvious once paint dries. Proper prep smooths those irregularities so the final coat looks consistent from every angle.
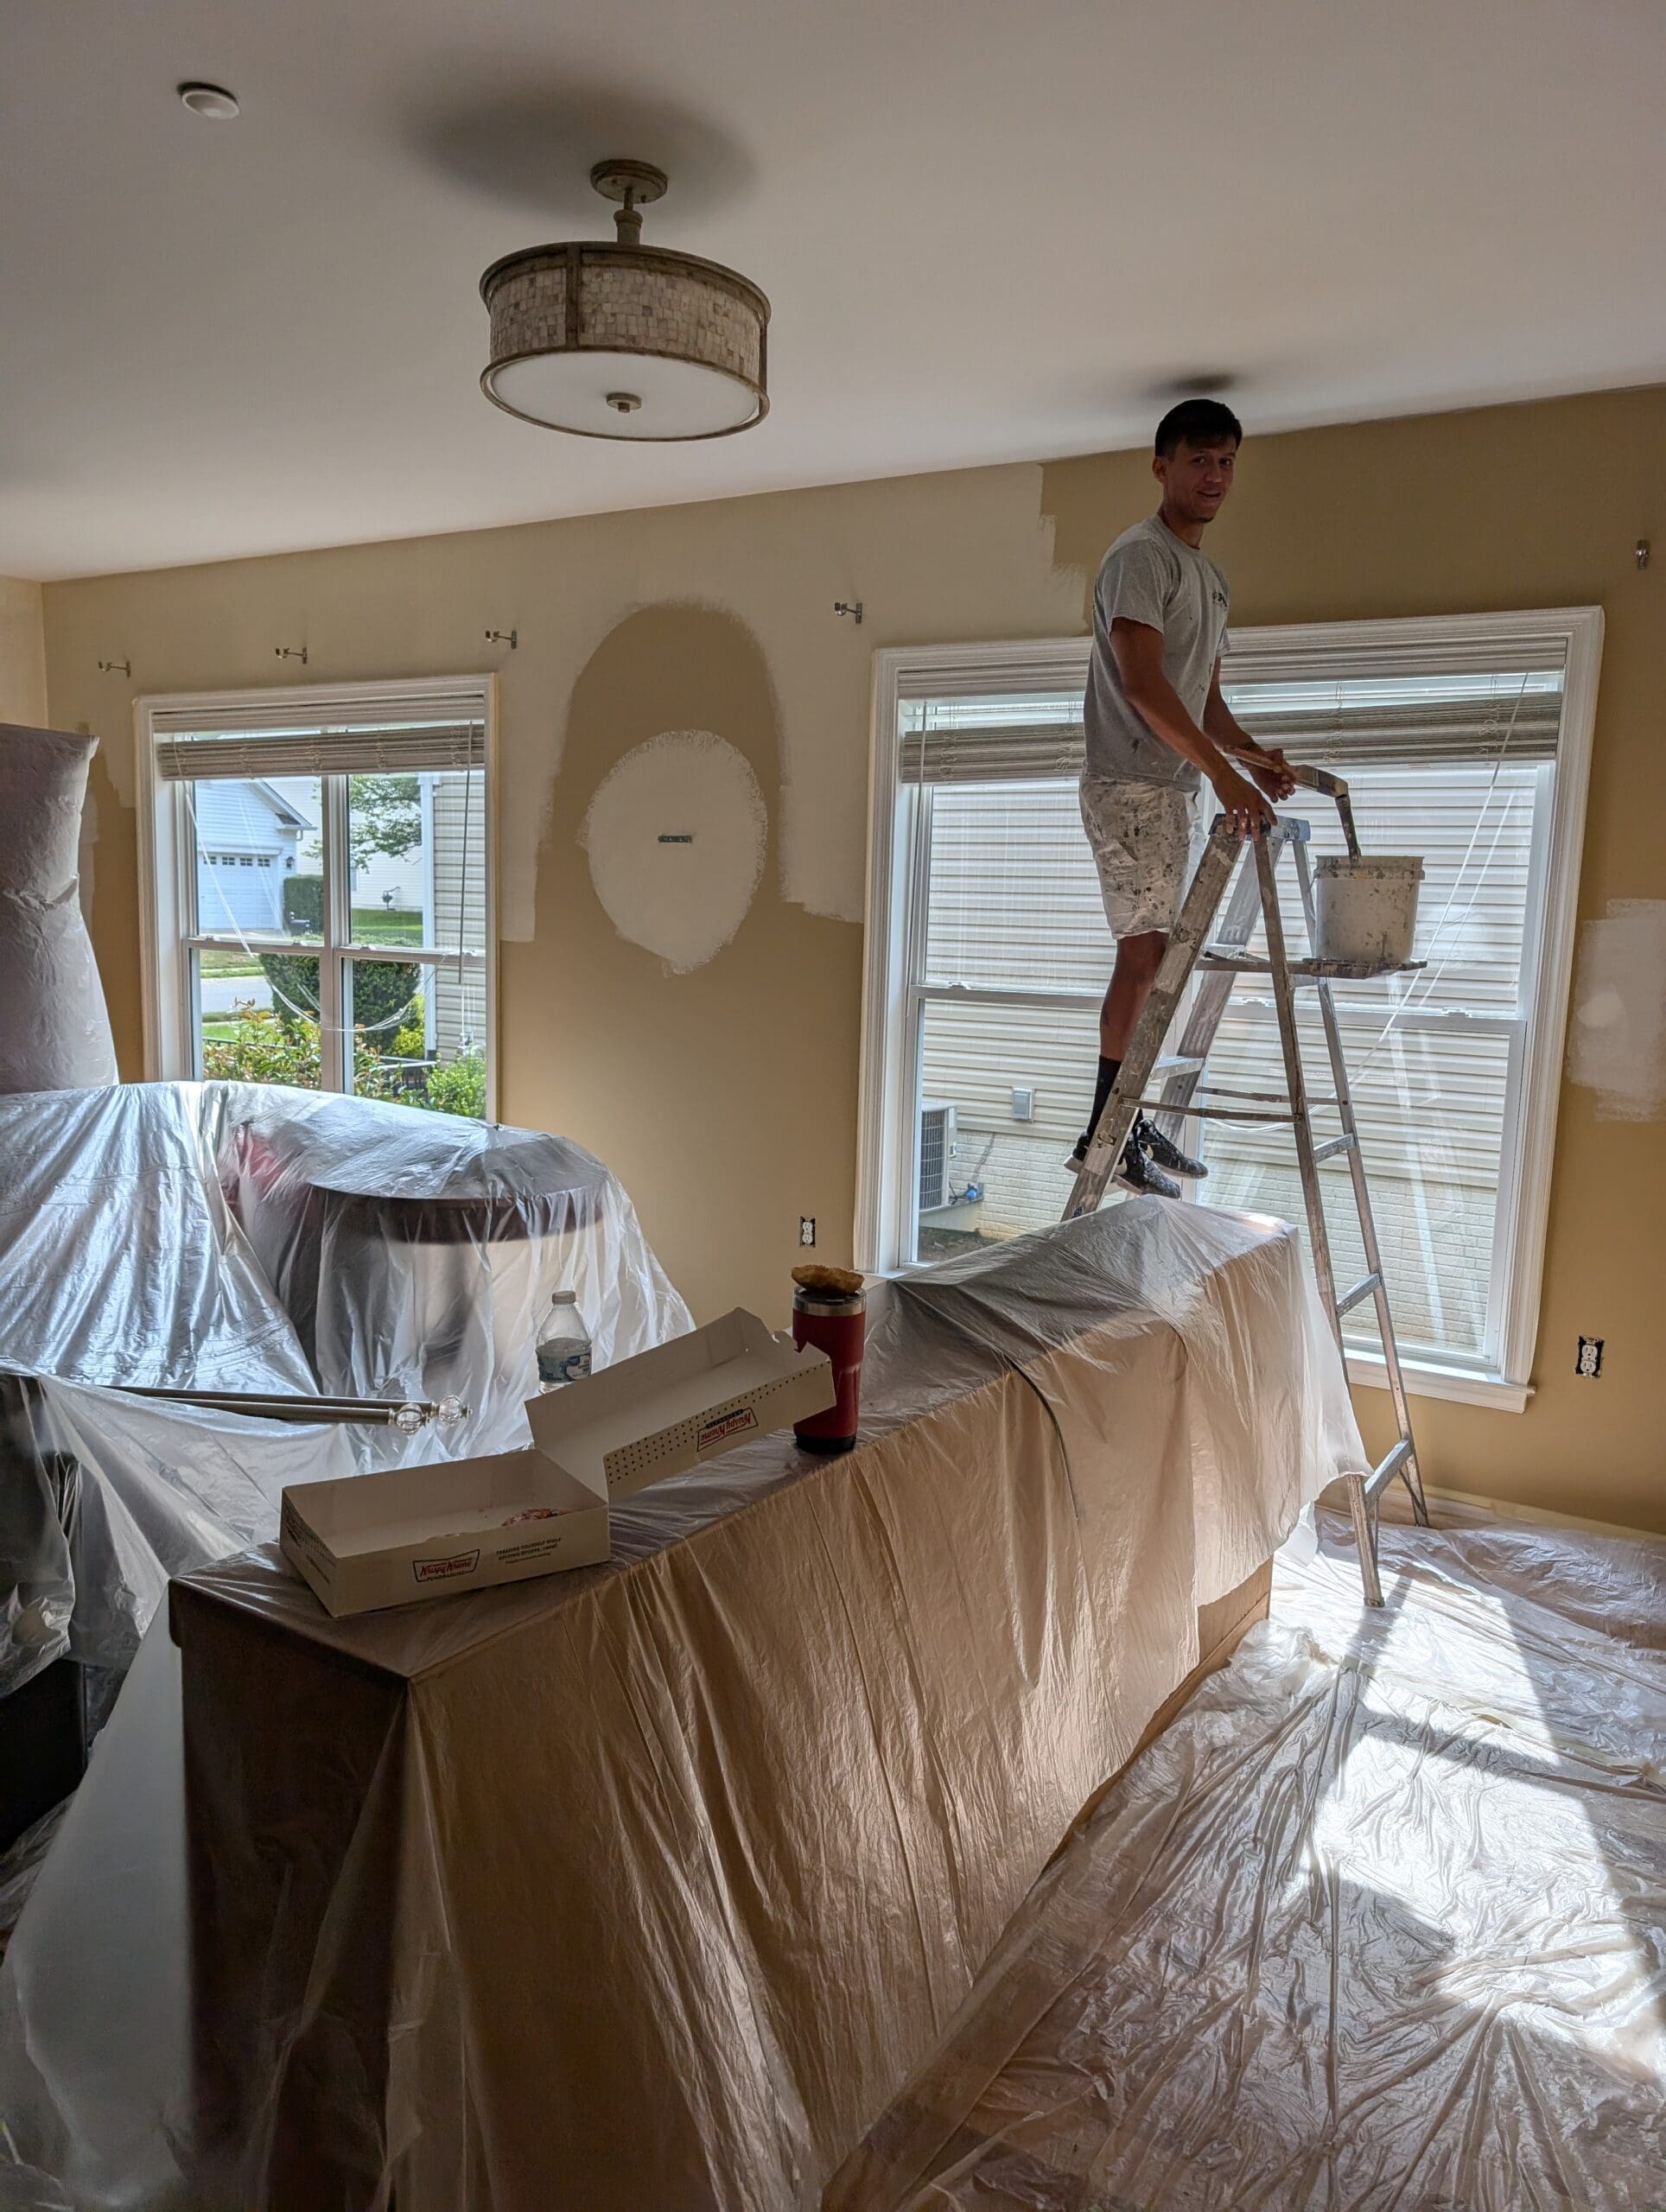
Clearing the Space the Right Way
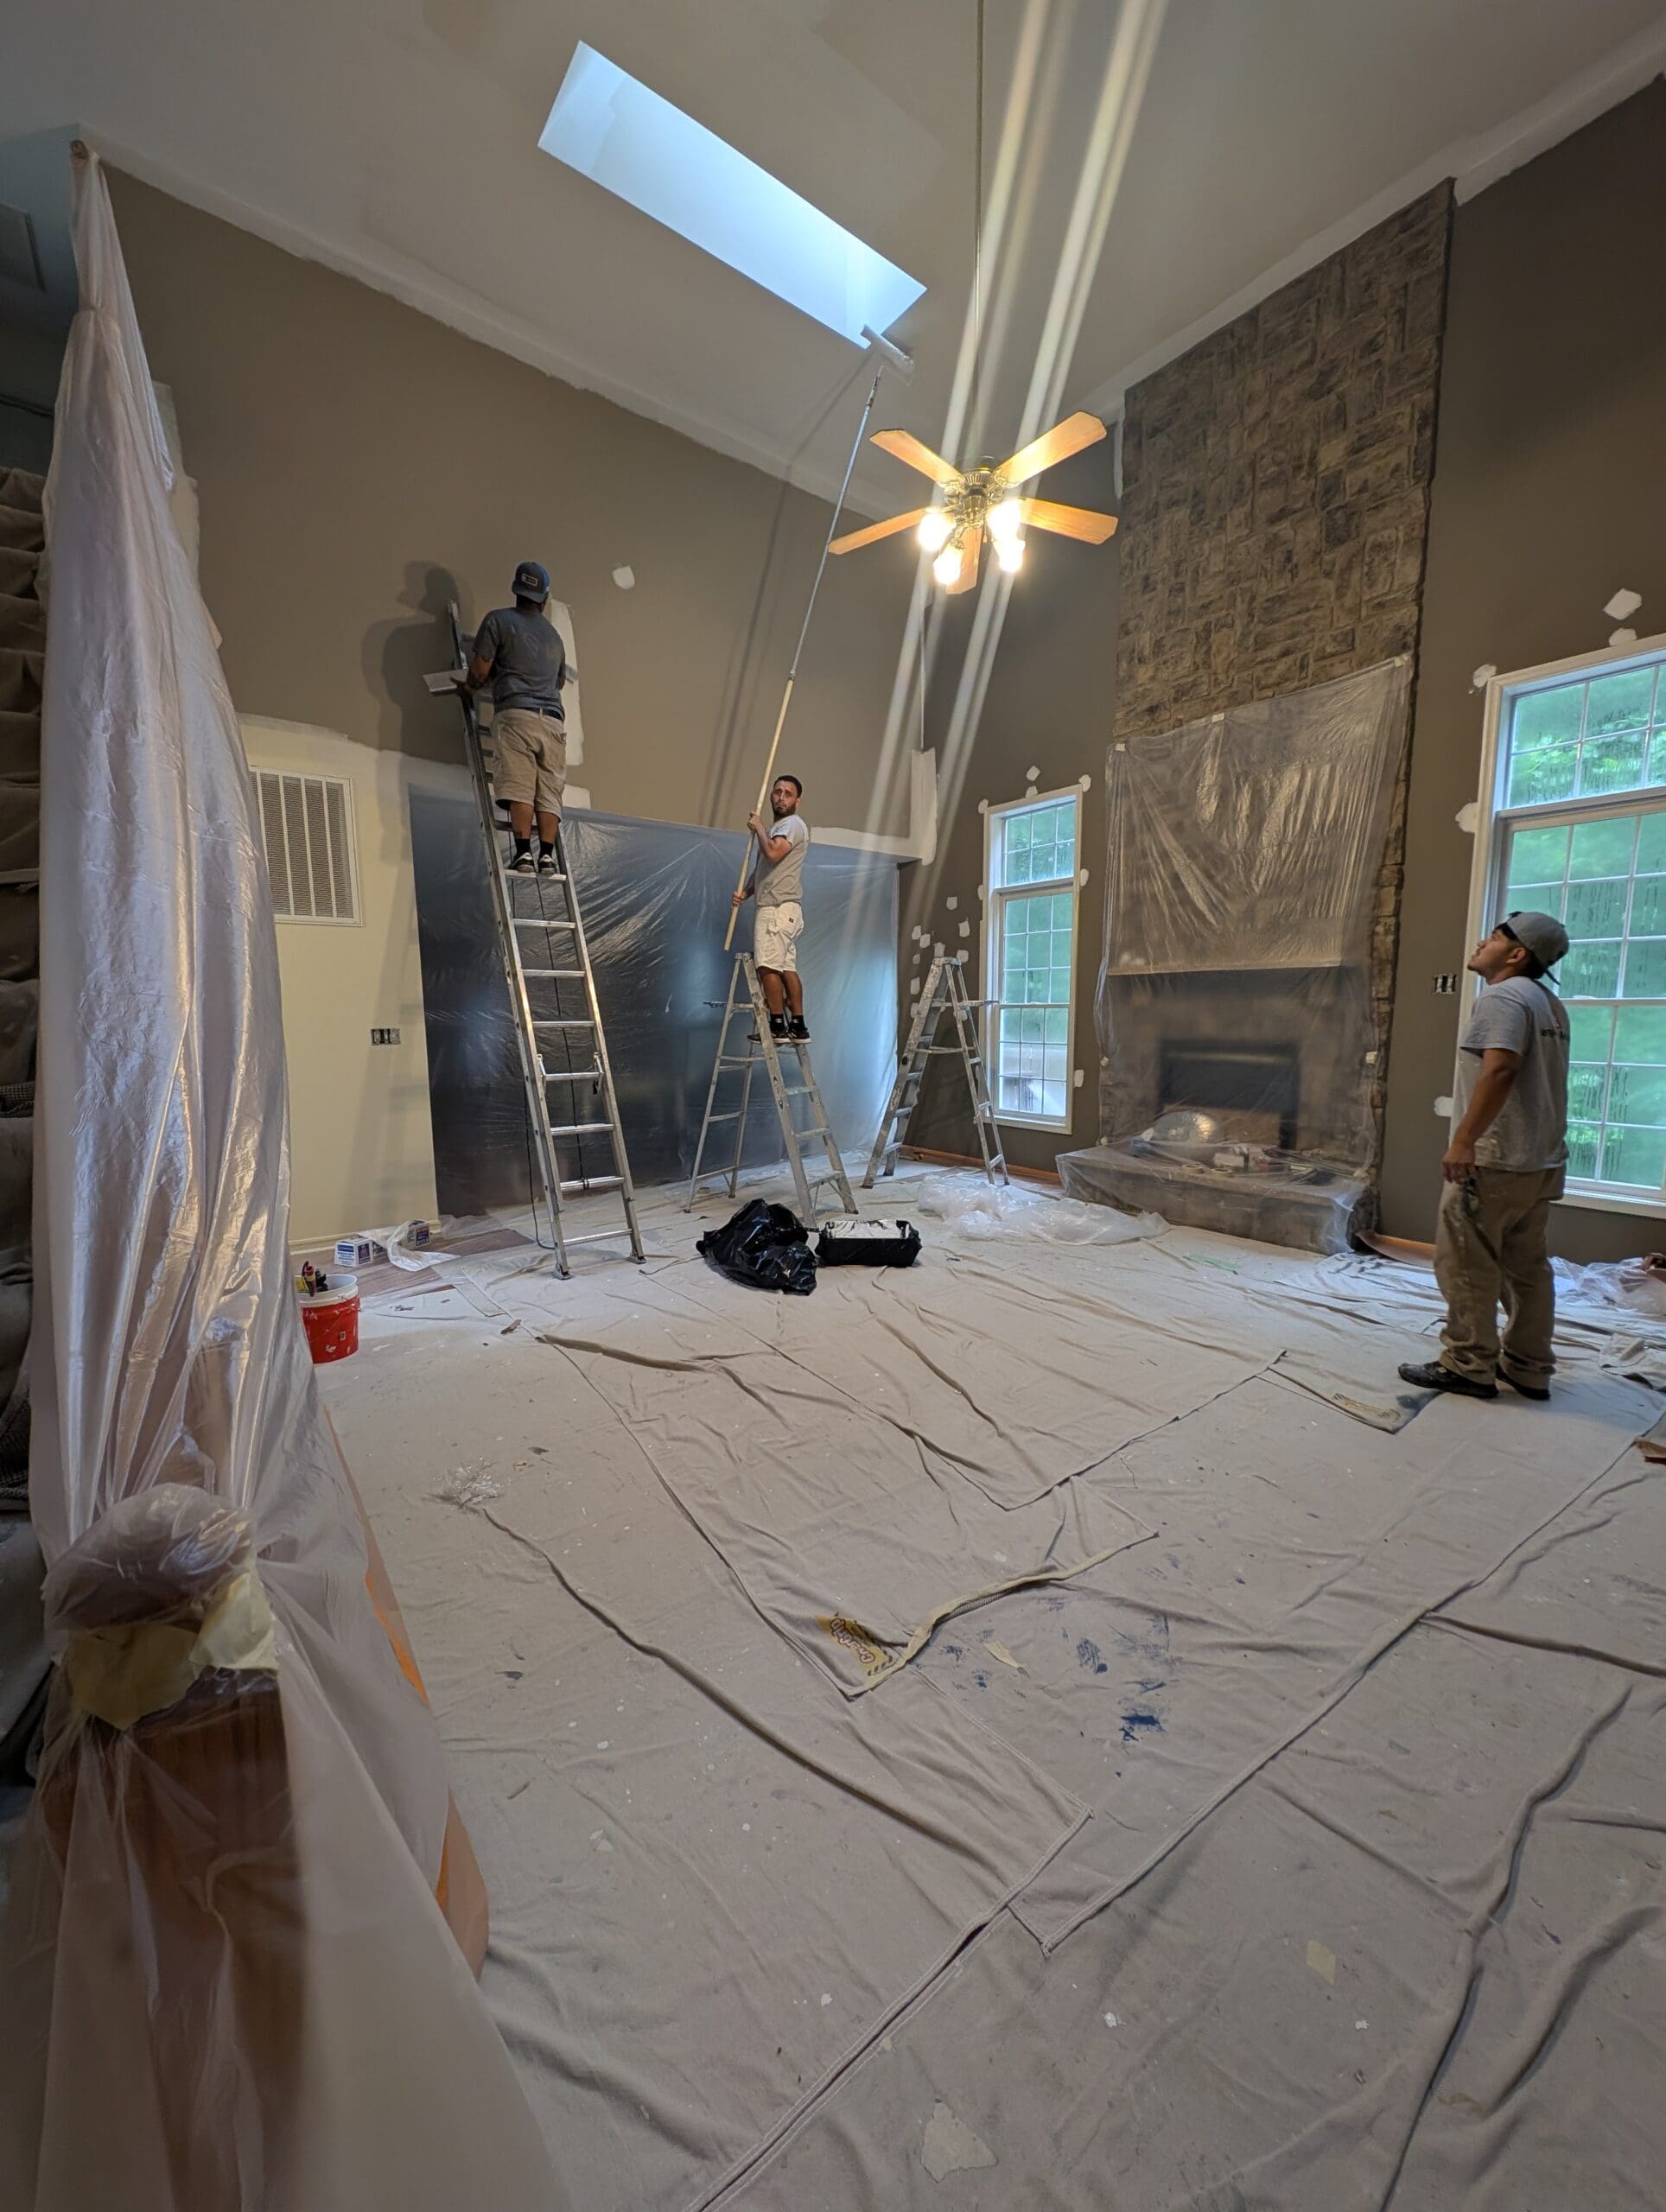
Moving furniture out of the room is the obvious step, yet real prep goes further than that. Large furniture pieces that can’t be removed should be placed in the center of the room and fully covered with plastic sheeting. Floors need proper protection as well, using drop cloths that won’t shift during the job.
Switch plates, outlet covers, curtain rods, and wall-mounted décor should come down before prep begins. Painting around them leaves uneven edges and creates a rushed look. Clean edges around fixtures are one of the first details people notice in a finished room.
Dust control matters at this stage. Moving furniture and removing fixtures stirs up particles that can settle onto surfaces right before painting. A quick vacuum and wipe-down after clearing the space helps keep the environment controlled and ready for the next steps.
Surface Cleaning: The Step Most People Skip
Walls may look clean, yet they rarely are. Cooking residue, hand oils, smoke, and general dust create a thin layer that interferes with paint adhesion. Kitchens and high-traffic areas are especially prone to buildup that must be removed.
A mild detergent solution works well for most surfaces. Areas with grease may need a stronger degreaser to fully break down residue. Bathrooms often require attention to soap film and humidity-related buildup. Skipping this step leads to paint that separates or develops uneven patches.
Once cleaning is complete, surfaces need time to dry completely. Painting over damp walls traps moisture, which can lead to blistering or mildew issues later. Dry time may seem like a delay, yet it prevents long-term problems that are far more time-consuming to fix.
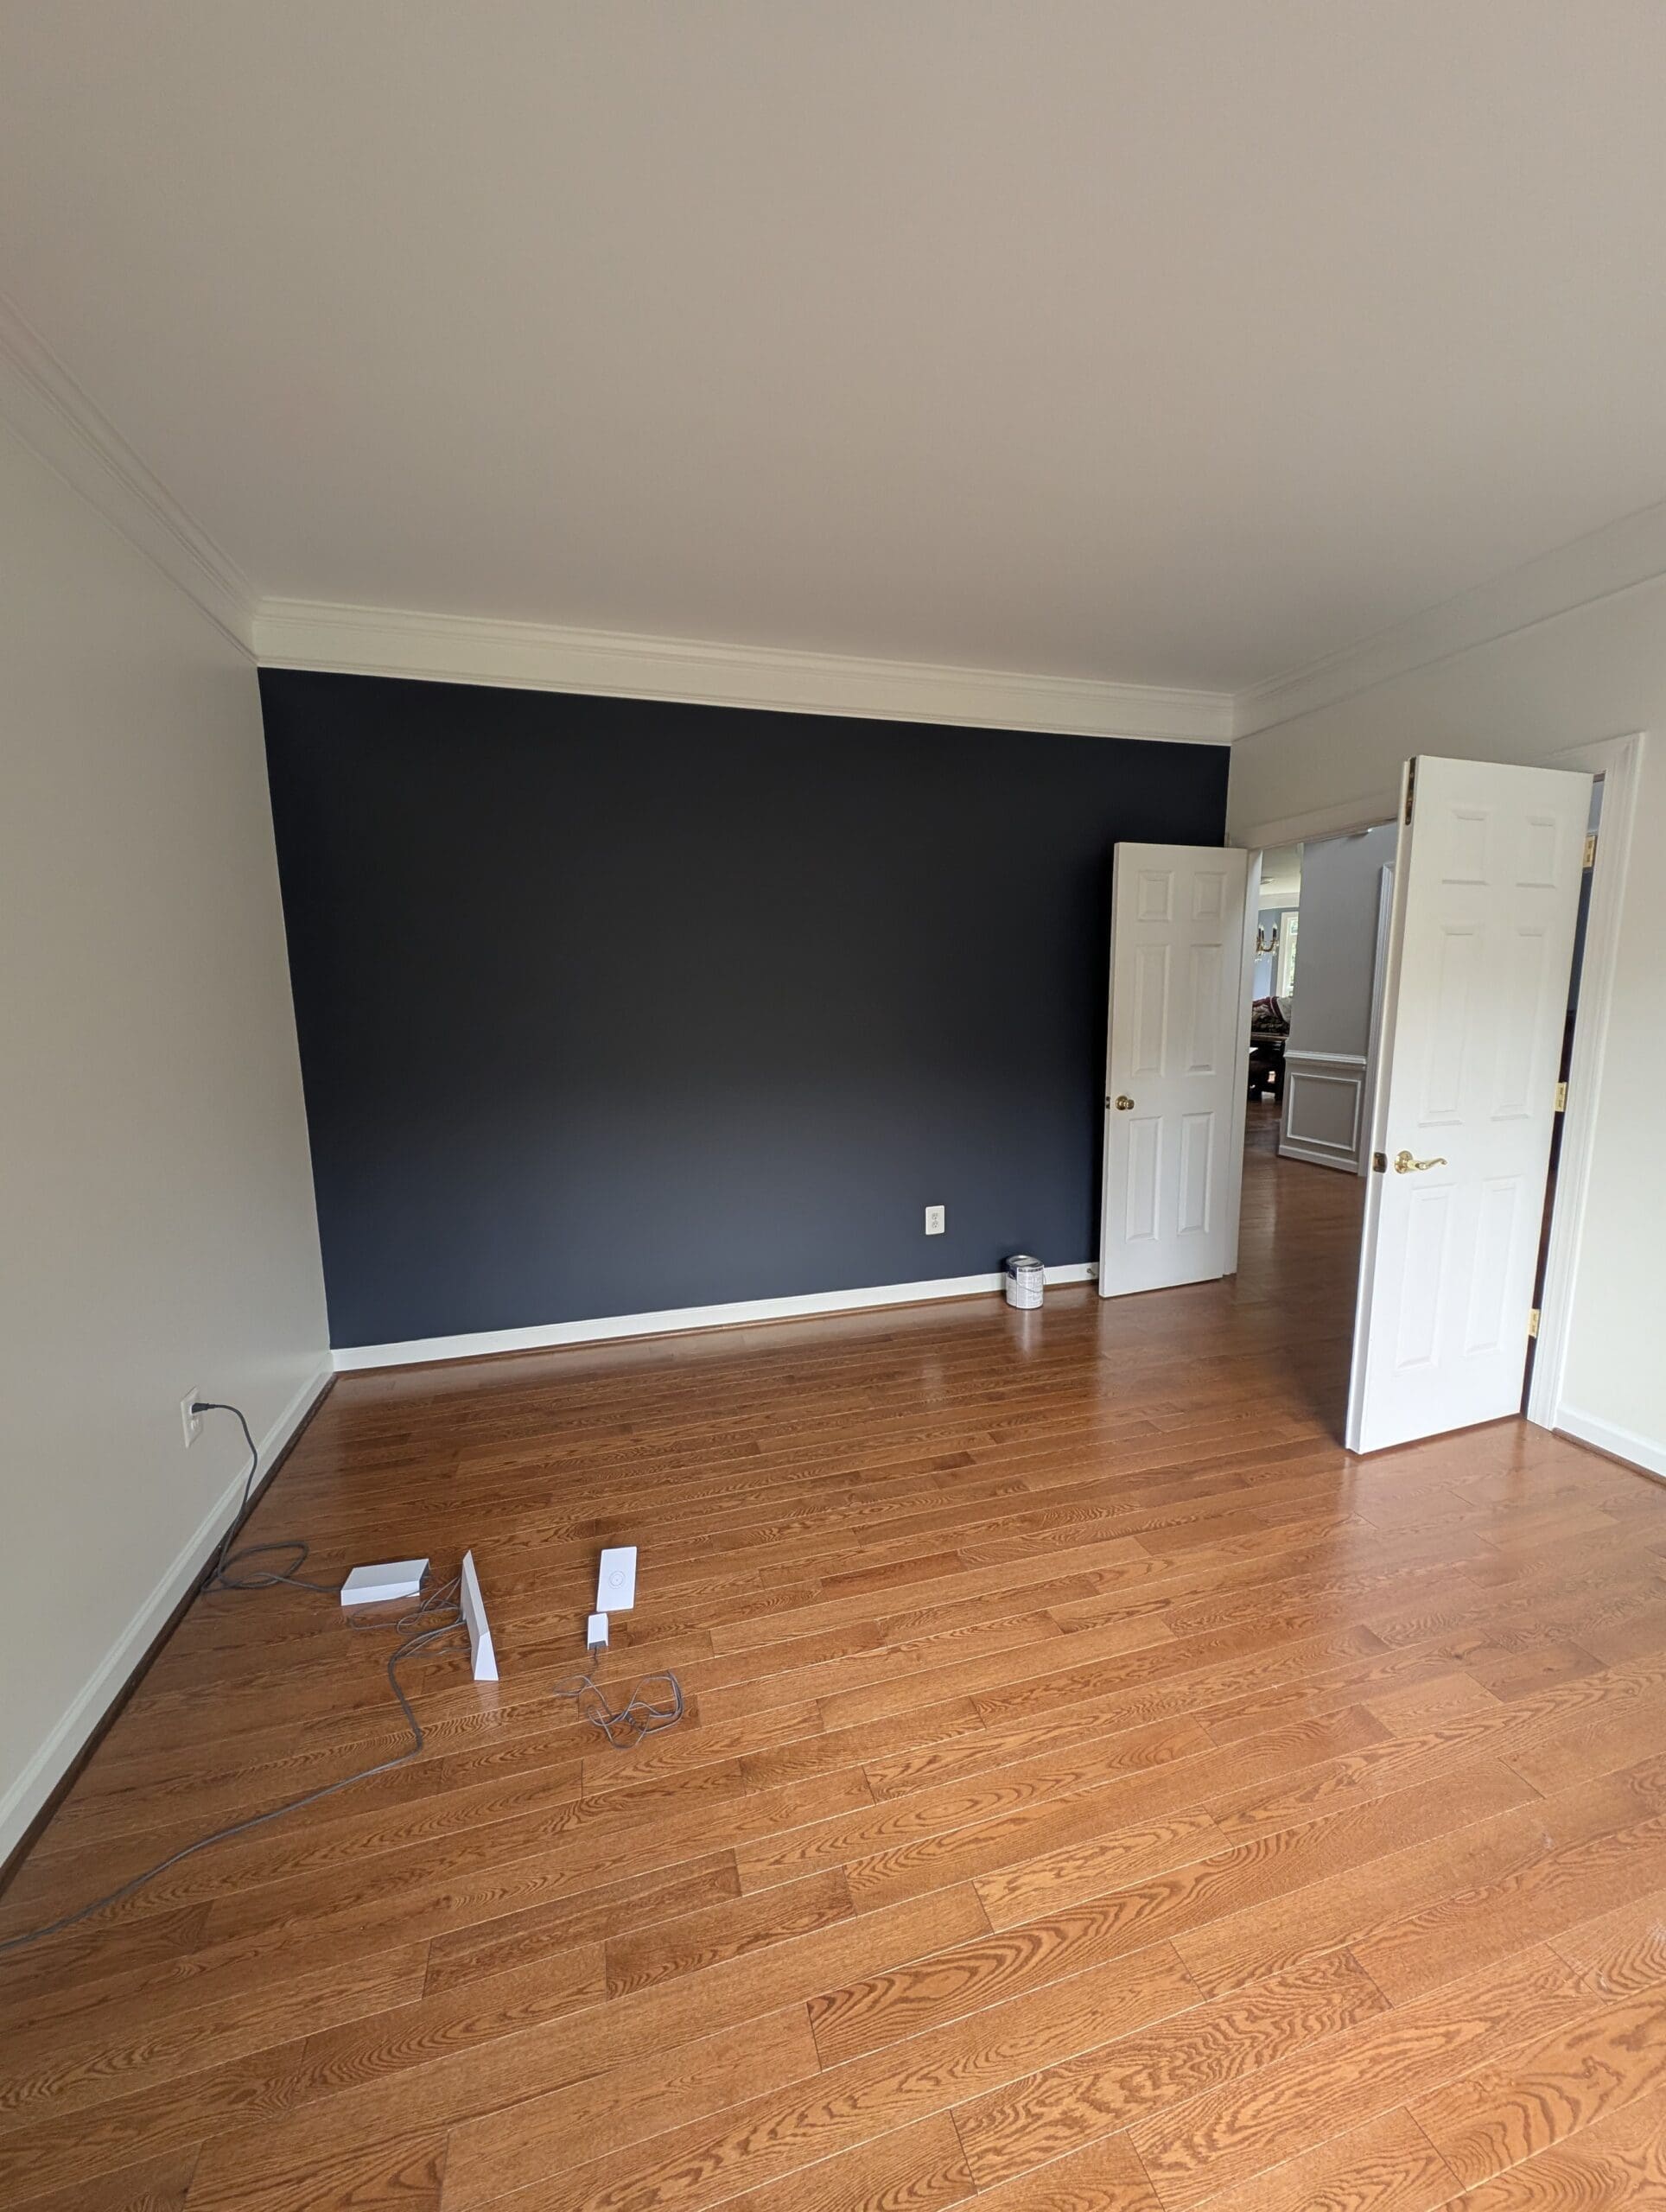
Repairing Imperfections Before They Show Through
Every wall has flaws, even if they’re not obvious at first glance. Small dents, hairline cracks, and nail holes become much more visible after a fresh coat of paint goes on. Preparation includes identifying and correcting those imperfections before moving forward.
Spackling compounds are used to fill small holes and dents. Larger repairs may require joint compound and proper layering to rebuild the surface. Once repairs dry, sanding smooths everything flush with the surrounding wall.
Sanding is not just about smoothing patches. It also helps remove minor texture inconsistencies and prepares glossy areas to accept new paint. A uniform surface ensures the finish coat looks even and professional.
Dust from sanding must be removed completely. Any leftover residue can mix with paint and create a gritty finish. Wiping walls with a damp cloth or using a vacuum with a brush attachment keeps the surface clean and ready.
Caulking for Clean Lines and Sealed Edges
Gaps between trim and walls often go unnoticed until fresh paint highlights them. Caulking fills those gaps, creating seamless transitions between surfaces. This step improves both appearance and durability.
Trim, baseboards, and crown molding benefit from clean caulk lines. Paint adheres better when those joints are sealed, and the final result looks more refined. Skipping caulking leaves visible separations that break up the visual flow of a room.
Proper caulking requires smooth application and careful cleanup. Excess material or uneven lines can stand out just as much as gaps. Taking time here ensures the final paint job looks crisp and intentional.
Priming: When and Why It’s Necessary
Primer often gets overlooked, yet it plays a critical role in many interior painting projects. Its purpose goes beyond helping paint stick. Primer creates a consistent base that allows the topcoat to perform evenly.
Walls with stains, patched areas, or drastic color changes benefit from primer. Without it, the finish coat may appear blotchy or require additional layers to achieve full coverage. Primer also seals porous surfaces, preventing uneven absorption.
Different surfaces call for different types of primer. Drywall repairs, wood trim, and previously painted surfaces each have specific needs. Choosing the right primer ensures compatibility and long-term performance.
Skipping primer might save time initially, yet it often leads to more work later. Extra coats, uneven color, and reduced durability all trace back to inadequate surface preparation.
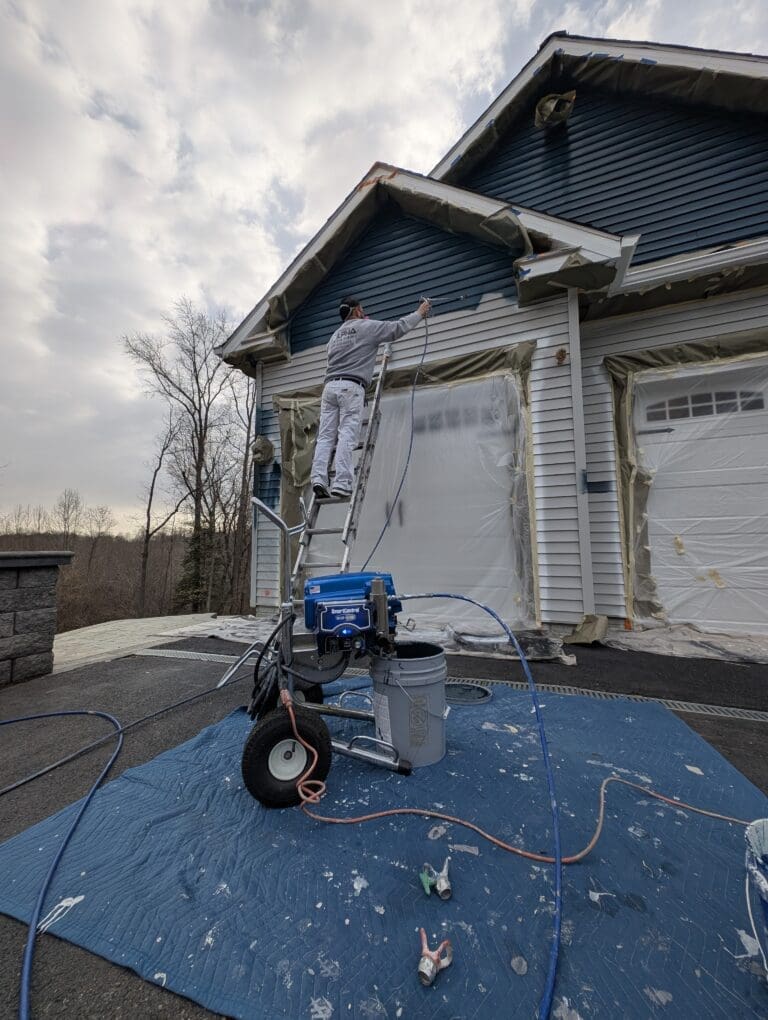
Taping and Edge Protection
Clean lines define a professional paint job. Painter’s tape helps achieve sharp edges where walls meet ceilings, trim, and other surfaces. Proper application of tape prevents paint bleed and keeps transitions neat.
Tape should be applied firmly along edges, ensuring full contact with the surface. Loose edges allow paint to seep underneath, creating jagged lines. Removing tape at the right time is just as important. Waiting too long can cause paint to peel along with it.
Some experienced painters cut clean lines without tape, yet that skill comes from years of practice. For most projects, tape remains the safest way to maintain precision.
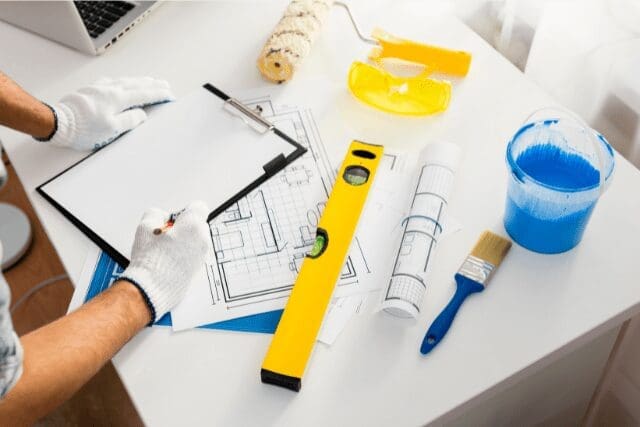
Choosing the Right Tools Before Starting
Preparation includes selecting tools that match the job. Brushes, rollers, and extension poles all impact how paint goes on and how the finish looks. Cheap tools often leave streaks, lint, or uneven coverage.
Roller nap thickness should match the wall texture. Smooth walls require shorter naps, while textured surfaces need thicker ones to reach into crevices. Brushes should hold paint well and maintain shape for clean cutting along edges.
Having the right tools ready prevents interruptions once painting begins. Stopping mid-project to switch tools or replace poor-quality equipment can affect consistency and slow progress.
Controlling Lighting During Prep
Lighting plays a bigger role than most people expect. Natural and artificial light reveal different imperfections on walls. Checking surfaces under multiple lighting conditions helps catch flaws before painting starts.
Shining a work light across the wall at an angle can highlight dents, sanding marks, or uneven patches. Addressing those issues during prep ensures the final coat looks smooth under all lighting conditions.
Rooms with limited natural light need extra attention. Shadows can hide imperfections during prep, only for them to become visible later once lighting changes.
Temperature and Humidity Considerations
Environmental conditions affect both preparation and painting. High humidity slows drying times for cleaning, repairs, and primer. Low temperatures can impact how materials cure and bond.
Interior painting works best within a controlled temperature range. Consistent conditions allow each prep step to perform as expected. Rushing through prep in poor conditions often leads to compromised results.
Ventilation also matters. Proper airflow helps surfaces dry evenly and reduces the risk of trapped moisture. Opening windows or using fans can improve conditions without introducing dust or debris.
Timing the Prep Process
Preparation isn’t a single step completed in one pass. It’s a sequence that requires proper timing between each stage. Cleaning must dry before repairs begin. Repairs must cure before sanding. Primer must set before paint goes on.
Rushing through these steps creates weak points in the finish. Allowing each stage to complete fully ensures the entire system works together. A well-timed prep process leads to a smoother application and longer-lasting results.
Final Walkthrough Before Painting Begins
A final inspection ties everything together. Walking through the space with fresh eyes helps catch anything missed during earlier steps. Checking edges, surfaces, and repaired areas ensures nothing stands out once paint is applied.
Touching up small issues at this stage is far easier than correcting them after painting. This walkthrough acts as a quality check before moving into the final phase.
Professional painters rely on this step to maintain consistency across projects. It ensures that every surface meets the same standard before the finish coat goes on.
What Proper Prep Delivers
A well-prepared surface transforms how paint behaves. Coverage improves, color appears more accurate, and finishes hold up against daily wear. Maintenance becomes easier, and the need for frequent repainting decreases.
Skipping prep may save a few hours upfront, yet it often leads to visible flaws and reduced durability. Proper preparation, done with attention to detail, delivers a finish that looks better and lasts longer.
Interior painting isn’t just about changing color. It’s about creating a clean, durable surface that enhances the entire space. Preparation is where that transformation truly begins.