Why Is My Paint Streaking? Common Causes and Fixes
Streaky paint is a common problem that frustrates both homeowners and professionals. Whether it’s interior walls, ceilings, or an exterior surface, paint streaking is almost always a sign of an underlying issue in application technique, surface prep, or material choice. If you’ve noticed uneven lines, visible brush or roller marks, or inconsistent coverage after a fresh coat, you’re not alone. The good news is—paint streaking can be prevented, and in most cases, fixed.
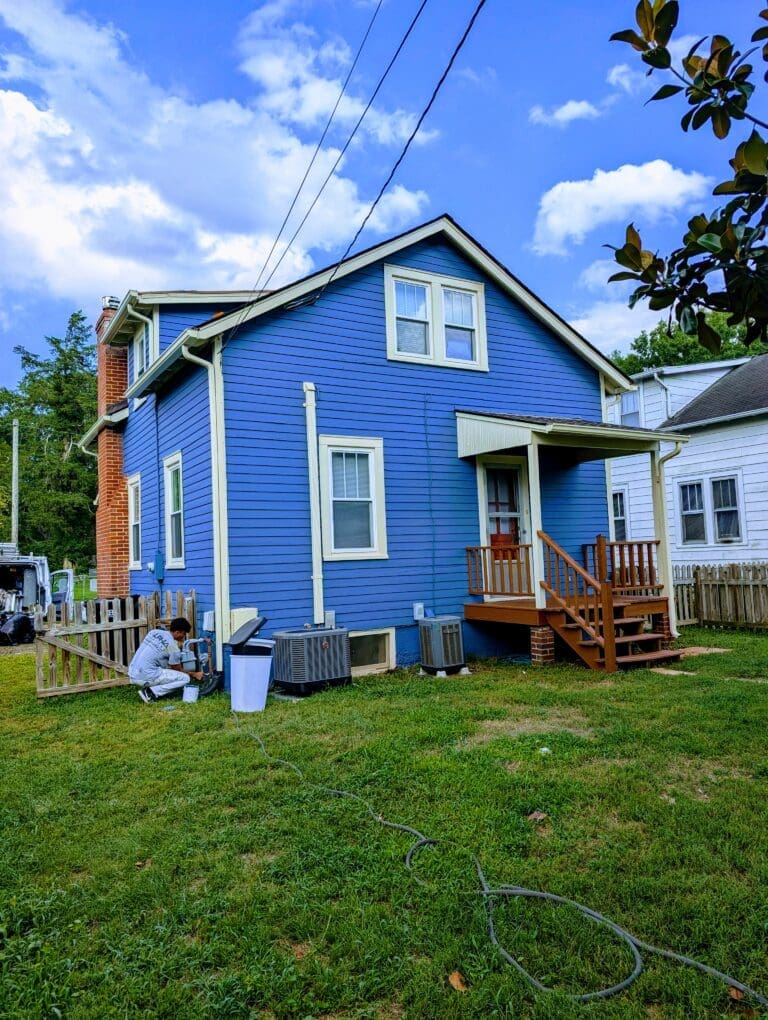
At Alpha Painting LLC, we’ve handled thousands of residential and commercial projects throughout Fredericksburg, VA, and we’ve seen how small mistakes during the painting process can lead to disappointing results. Addressing the root cause early on not only restores the look of your space but also extends the lifespan of the finish.
Table of Contents
Improper Surface Preparation
A clean and properly primed surface sets the foundation for smooth results. Dirt, grease, dust, or leftover residue from previous finishes can cause the paint to sit unevenly. On interior walls, even small imperfections like hairline cracks or nail holes can contribute to streaking if not properly patched and sanded. For exteriors, peeling paint, mildew, or chalky residue from sun exposure can prevent the new coat from adhering evenly.
Skipping or rushing the surface preparation stage often leads to adhesion problems, especially with flat or matte finishes. These sheens don’t reflect much light, which makes any imperfection—including streaks—more noticeable. Even if you’re painting over a previously painted surface, thorough cleaning, light sanding, and priming will make a noticeable difference.
Poor Application Technique
The most common cause of streaky paint comes down to technique. Applying too much pressure with a roller, using short or inconsistent strokes, or going over the same area multiple times while it’s drying will disrupt the paint film. Streaks often appear when paint is spread too thin or when an area is left partially dry while you continue applying wet paint nearby.
Another frequent issue is “cutting in” without blending. When you use a brush to paint the edges and then roll the larger section later, the brush marks can stay visible unless you blend them into the rolled section while both areas are still wet. Timing is critical. If the brushed areas dry before rolling, you’ll see a noticeable difference in texture and sheen.
Using Low-Quality Tools or Paint
Cheap rollers and brushes don’t just make your job harder—they can be a direct cause of streaking. Low-end rollers might shed fibers into the paint, and inexpensive brushes often fail to hold their shape or spread paint evenly. Even worse, poorly made tools leave behind drag marks, uneven texture, and visible lines that show through after drying.
Paint quality also matters. Thin, low-quality paint lacks the pigment and binder content needed to self-level and provide uniform coverage. These formulas require more coats and are prone to lap marks and uneven sheen. High-quality paint, on the other hand, has better flow and leveling properties, which helps reduce streaking even when application technique isn’t perfect.
Inconsistent Paint Mixing and Sheen Differences
Paint needs to be thoroughly mixed, even if it was just shaken at the store. Pigments and binders can settle at the bottom of the can, and using unmixed paint can create color or sheen inconsistencies that look like streaks. Stirring the paint properly with a paint stick for several minutes before and during the project helps maintain consistency across your walls.
Another often overlooked detail is matching the sheen between different batches or touch-ups. If you switch from eggshell to satin mid-project without realizing it, the difference in light reflection can resemble streaks. Similarly, using two batches of paint with slightly different formulas or tints—even if they have the same color name—can cause visual inconsistencies.
Working Conditions and Drying Time
Environmental conditions can play a huge role in how paint dries. Humidity, temperature, and airflow all affect drying speed. If the paint dries too quickly—due to high heat or a fan pointed directly at the wall—it may not have enough time to level out, leading to streaks or roller marks. On the flip side, painting in a humid room or on a rainy day can delay drying and make it harder to apply the next coat smoothly.

Exterior painting requires even more attention to weather conditions. Direct sunlight on a surface will heat the paint faster than surrounding areas, causing uneven drying. Wind can cause similar problems, especially when it carries dust or debris onto the surface before it dries. Planning the project based on the day’s weather forecast and working on shaded areas first can help manage streaking risks.
How to Fix Streaky Paint
Fixing streaks depends on how severe they are and how recently the paint was applied. If the paint is still wet, the best solution is to re-roll the area using light, consistent pressure and long strokes to smooth out any lines. Keep a wet edge and work in manageable sections to avoid overlap marks.
If the paint has dried, sanding the area lightly with fine-grit sandpaper can help level out raised lines or brush marks. Once smoothed, a fresh coat of paint—applied with the right technique—can even out the surface. Make sure to feather the edges and blend with the surrounding paint.
For more noticeable streaks or texture problems, a full repaint of the wall or affected area might be necessary. This time, focus on prep work, use quality tools, and avoid shortcuts during application. Using a paint conditioner can also help improve flow and leveling.
Prevention Is Always Better Than Repair
Streaking issues often come down to a few preventable missteps. Start with a properly cleaned and primed surface. Use the right roller nap for your wall texture and the correct brush for corners and trim. Mix the paint thoroughly, and use it within the same batch for the entire project to avoid color and sheen mismatches.
Avoid overloading the roller or pressing too hard. Always work from a wet edge and finish with smooth, top-to-bottom strokes without going back over partially dried sections. Give the paint proper time to dry between coats and avoid rushing the job to meet a tight timeline.
Wrapping Up
Paint streaking isn’t a mystery—it’s a result of conditions or actions that are well understood in the painting industry. Once those factors are controlled, achieving a clean, professional finish becomes much more predictable.
For property owners who don’t want to deal with the hassle or uncertainty, hiring an experienced crew that gets it right the first time is often the best investment. It saves time, reduces stress, and ensures your walls or exterior surfaces look flawless for years to come.