Installing and Repairing Drywall – A Complete Guide
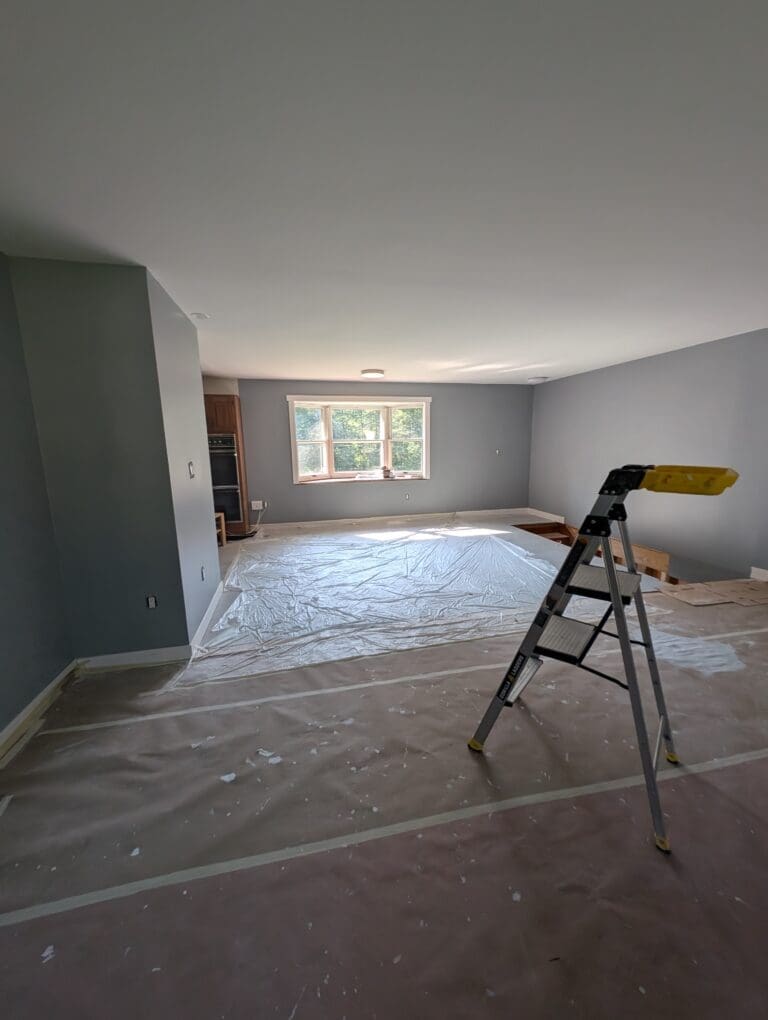
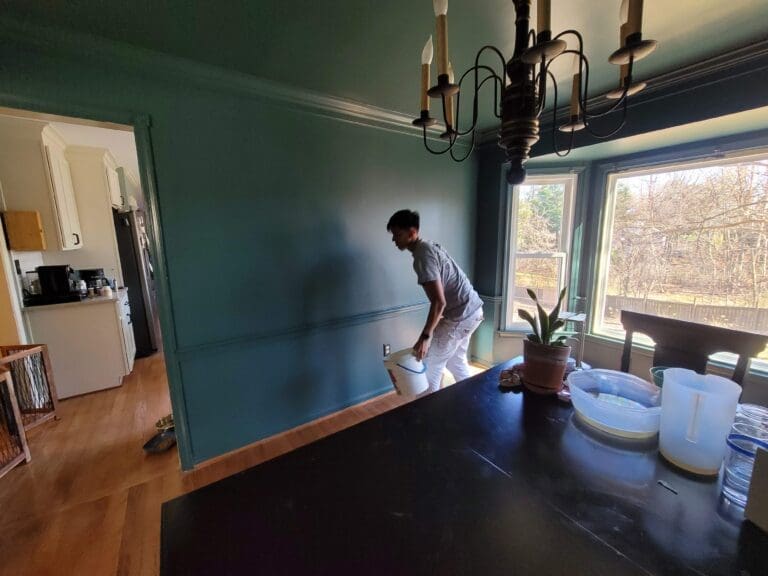
Drywall is the backbone of most modern interiors. Whether you’re remodeling a room, building new walls, or fixing dents and holes, understanding how drywall works and how to handle it properly makes all the difference. While it’s common to associate Alpha Painting with high-quality painting services in Fredericksburg, we often handle drywall work as part of our prep and repair process to ensure your walls are smooth and paint-ready. That foundation is critical for professional-looking results.
Table of Contents
Understanding Drywall Basics
Drywall, also known as sheetrock or plasterboard, consists of a gypsum core sandwiched between paper layers. It’s widely used in residential and commercial interiors due to its affordability, fire resistance, and ease of installation. Panels typically come in 4×8 foot sheets, but there are variations depending on room size and special requirements like moisture resistance or added thickness.
Standard drywall works well for most walls and ceilings, but bathrooms and basements often require moisture-resistant green board or cement board. Thickness ranges from 1/4-inch for curved surfaces to 5/8-inch for ceilings or soundproofing.
Tools and Materials You’ll Need
Installing or repairing drywall requires more than just the sheets. You’ll need joint compound (often called mud), drywall tape, a taping knife, a sanding block, a utility knife, a T-square, and screws or nails. For larger projects, a drywall lift or panel hoist helps with ceiling work.
A drill or screw gun is essential for securing panels, while a keyhole saw or rotary tool helps with outlet and switch openings. Protective gear like safety glasses and a mask is a must during sanding to avoid breathing in fine dust.
How to Install Drywall
Proper drywall installation starts with planning. Measure and cut sheets so they fall on the center of studs, staggering seams to reduce weak spots. Start with ceilings before moving to walls to improve structural support and alignment.
Lift the drywall panel into place and screw it into the studs every 12 to 16 inches. Use enough screws to hold the panel securely without crushing the surface. Once all panels are up, it’s time to tape and mud the joints.
Apply a thin layer of joint compound over seams and press drywall tape into the wet mud. Feather the edges with a taping knife and allow it to dry fully. Add two more coats, each wider than the last, sanding lightly between coats to maintain a smooth surface. Corners require special attention using corner bead for crisp, durable lines.
Common Drywall Installation Mistakes
Too many DIYers rush through installation and end up with visible seams, bulges, or screw pops. Gaps between sheets wider than 1/8-inch should be avoided, as they require excessive mud to fill. Overdriving screws is another issue that weakens the board and causes cracking.
Improper sanding can also ruin a great taping job. Using too much pressure or skipping grits creates uneven surfaces or scratches. Patience during finishing goes a long way in achieving a professional result.
Drywall Repair Techniques
Repairing drywall involves different methods depending on the size and type of damage. Small nail holes or dings can be filled with a dab of joint compound using a putty knife, then sanded smooth. Larger holes—anything bigger than a golf ball—require patching.
For medium holes, cut a square around the damage, then insert a backing board and screw in a new piece of drywall. Apply joint compound over the patch and feather it out over the surrounding area. Once dry, sand smooth and prime before painting.
Major damage or water-affected drywall may require full panel replacement. If moisture is involved, identify and fix the source before patching to prevent mold or future issues.
Taping and Mudding Best Practices
Good taping starts with a clean surface. Use paper tape for straight seams and mesh tape for corners or areas prone to cracking. Embed the tape into wet mud and press it firmly to avoid bubbles.
Each coat of mud should be smooth and even. Don’t rush drying times—use a fan or dehumidifier if needed. Sand lightly between coats and always check for imperfections with a work light. A flat wall under direct lighting reveals every flaw, so take your time.
Sanding Without the Mess
Sanding creates clouds of fine dust that settle everywhere. To control this, use a sanding block attached to a shop vacuum or invest in a dustless sanding system. Always wear a mask, and close off adjacent areas to keep dust contained.
Work with medium grit sandpaper first (120), then finish with a finer grit (220). Avoid power sanders unless you’re experienced—they can gouge surfaces quickly. Light, consistent pressure is the way to go.
Priming After Repair or Installation
Drywall should always be primed before painting. Primer seals the porous surface, helps paint adhere evenly, and reveals any areas that need more sanding or touch-up. Use a high-quality drywall primer and roll it on evenly. Once dry, inspect the surface under bright light. Touch up as needed before applying your finish paint.
When to Call a Professional
If you’re dealing with large areas, high ceilings, intricate angles, or severe damage, hiring a professional can save time and ensure better results. Poor drywall work can show through even the best paint job, so it’s worth doing right the first time.
Alpha Painting handles drywall installation and repair with the same precision and care we bring to our painting projects. Our goal is always to create a smooth, flawless surface that sets the stage for a beautiful finish. Whether you’re refreshing a room or starting from scratch, we’ve got the experience to deliver clean, lasting results.