

Caulk Before or After Painting? Here’s the Right Order
When preparing a surface for painting, one question comes up repeatedly among homeowners and even some contractors: should you caulk before or after painting? The answer is not as simple as it might seem. The order of these steps can make a real difference in how clean, durable, and professional your final finish looks.
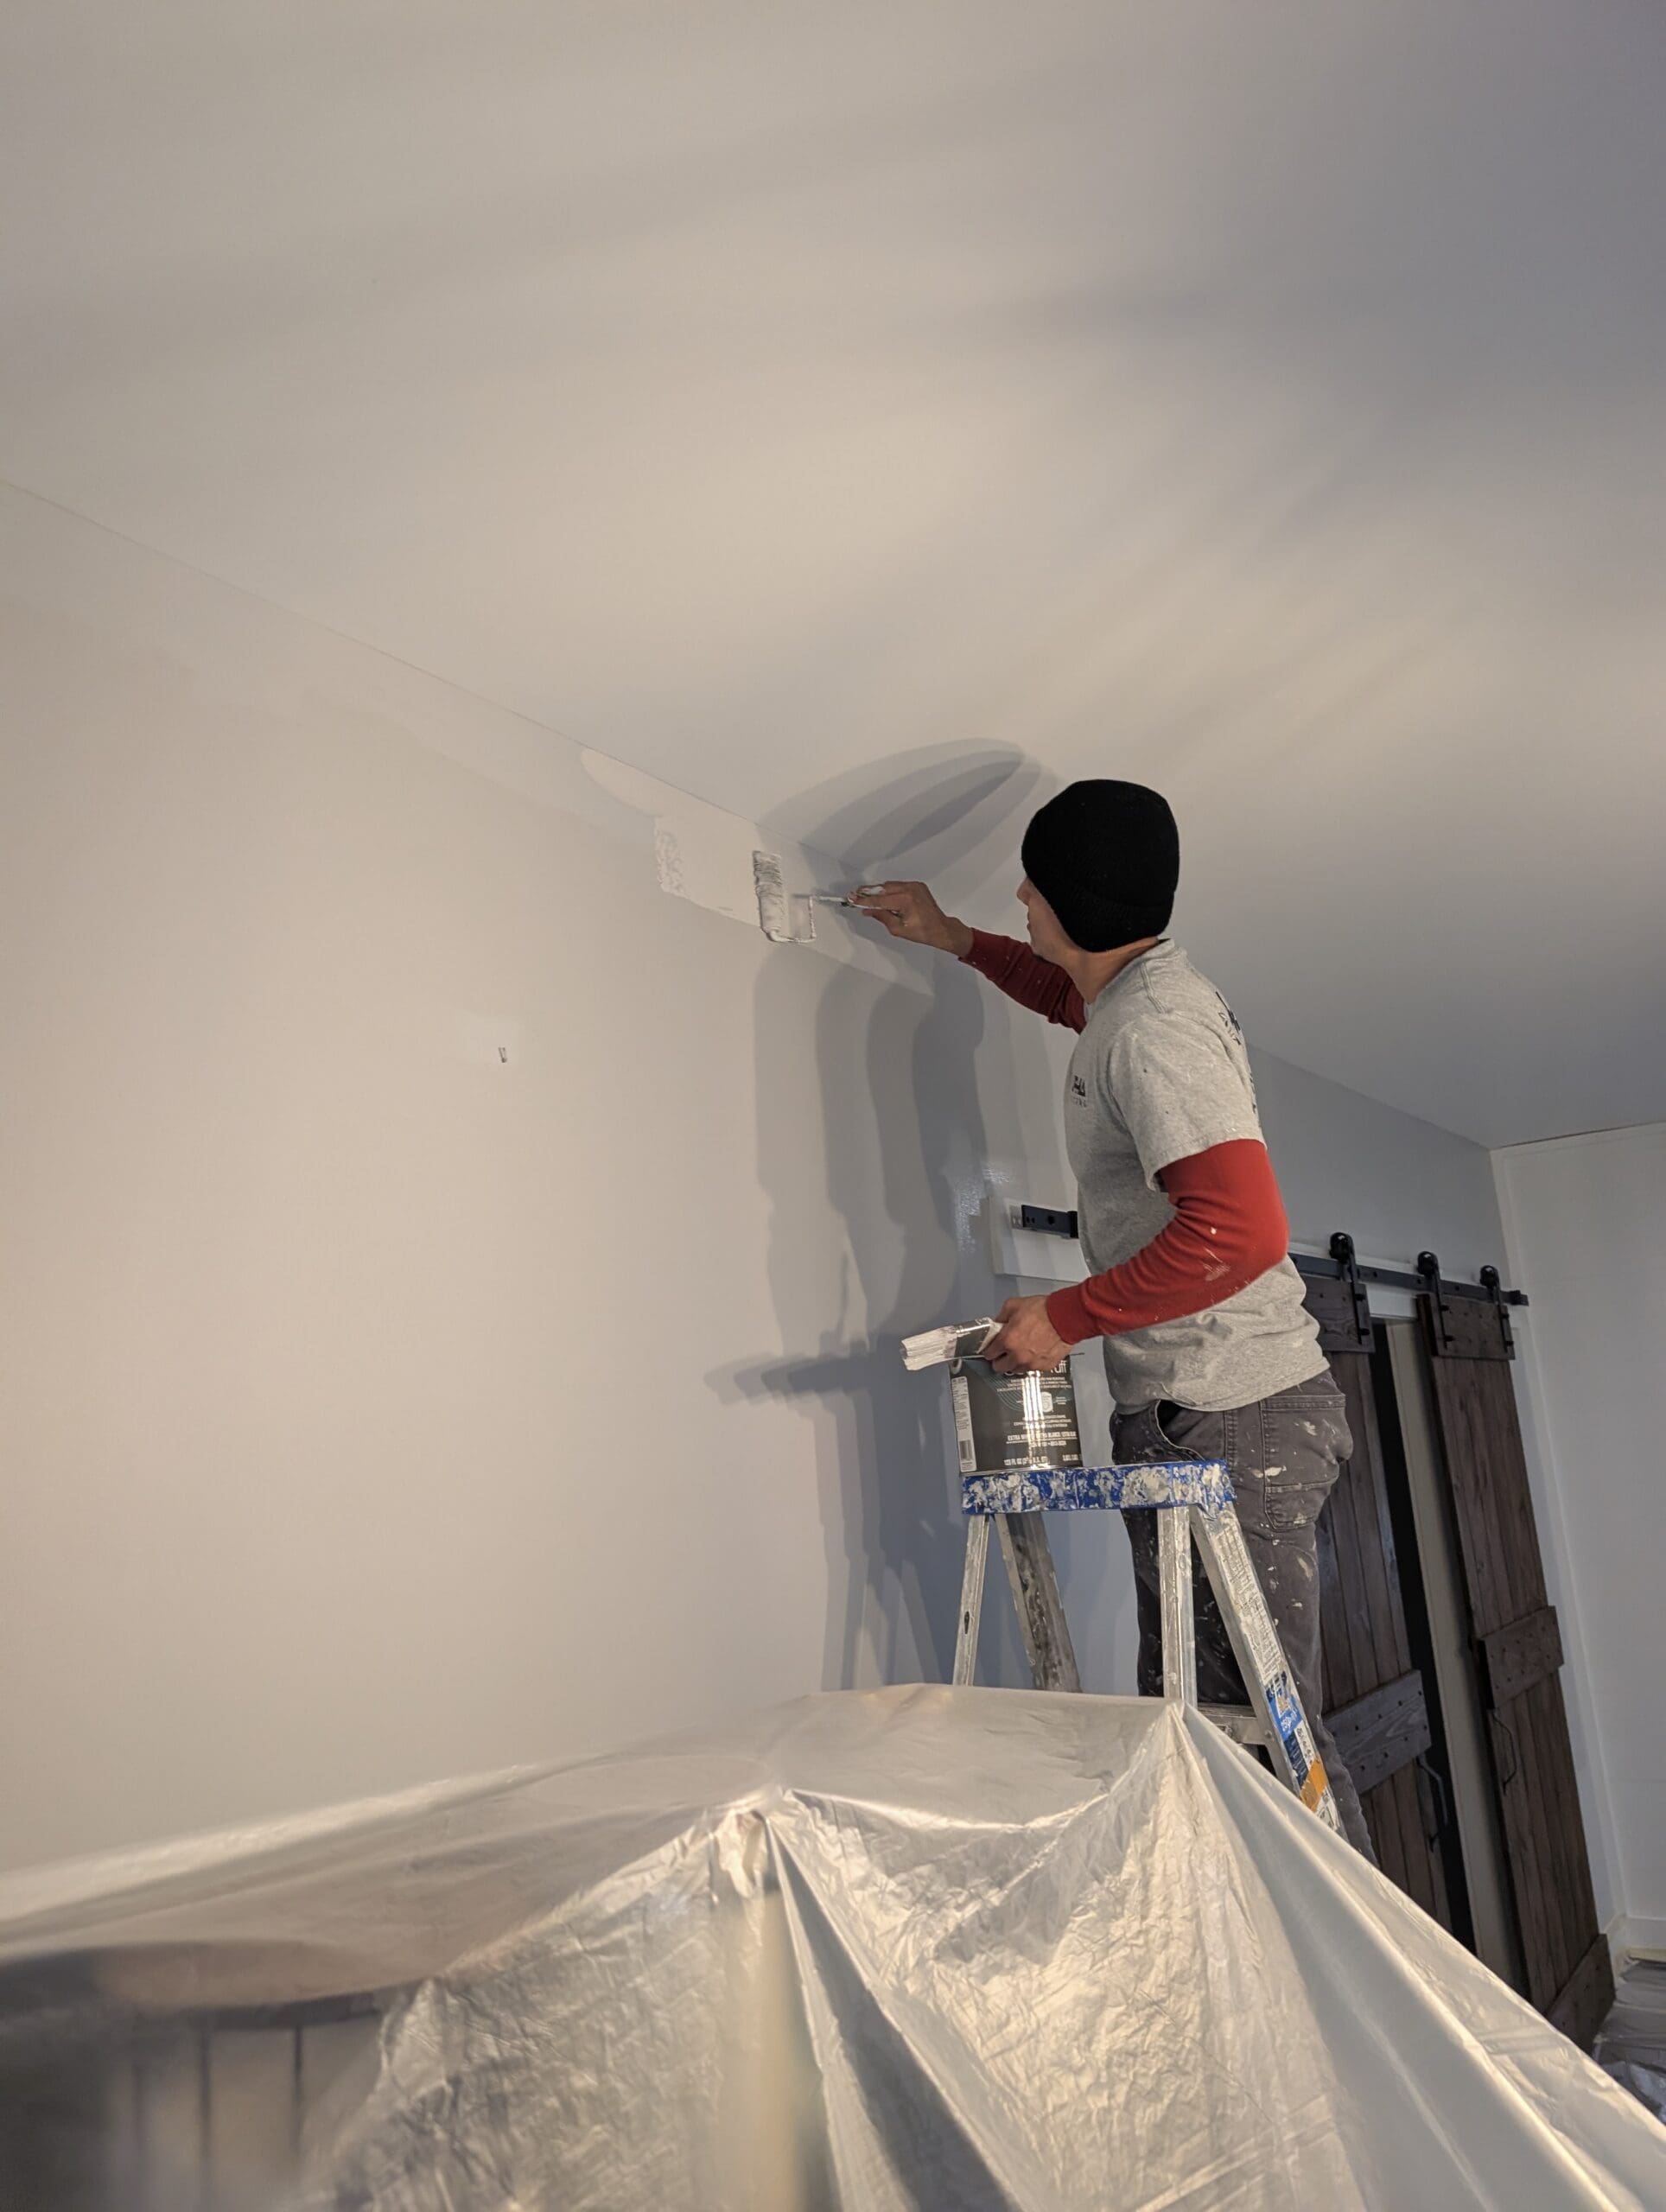
Whether you are tackling an exterior repaint or freshening up interior trim, the sequence of caulking and painting determines how long your paint lasts and how polished the end result appears. As a professional painting company serving Fredericksburg and surrounding areas, Alpha Painting LLC has handled countless projects where proper caulking technique made the difference between a short-lived paint job and one that stands the test of time.
Table of Contents
Why Caulking Matters in a Paint Job
Caulking is not just a cosmetic touch-up. It seals gaps, joints, and seams between surfaces like trim boards, siding, window frames, and door casings. This creates a smooth, seamless appearance while preventing moisture intrusion and air leaks. Without proper caulking, even premium paint won’t protect your surfaces from water damage or premature wear.
Interior caulking helps eliminate shadows between trim and walls, creating crisp lines and a polished finish. Exterior caulking, on the other hand, safeguards your home from rain, humidity, and fluctuating temperatures. When done right, it prevents wood rot, mold, and peeling paint.
The real question is when to apply it—before or after painting. Getting the order wrong can cause adhesion issues, cracking, or visible seams that ruin an otherwise well-applied coat of paint.
The Correct Order: Caulk Before Painting
Professionals always caulk before painting. This ensures a tight, smooth seal that blends seamlessly into the surface once the paint is applied. Caulking first gives paint a stable surface to grip, allowing it to lock in the seal and create a cohesive, protective layer.
When caulk is applied before painting, the paint coats over it and seals the bead, protecting it from UV rays, dirt, and moisture. This step prevents the caulk from yellowing or deteriorating over time. It also allows you to paint right up to the joint for a clean, consistent look across your trim or siding.
What Happens If You Paint Before Caulking
Painting before caulking creates several problems. The caulk won’t bond well to the painted surface, often peeling away over time. You also end up with visible caulk lines that don’t match the paint color unless you go over them again with touch-up paint, which can lead to uneven finishes.
In exterior applications, unpainted caulk is left exposed to sunlight and weather, which can cause cracking or shrinking. Once that happens, water seeps into gaps, leading to peeling paint, wood damage, or mold growth. Repainting and recaulking repeatedly becomes an ongoing chore—something no homeowner wants to deal with.
Steps to Properly Caulk Before Painting
A high-quality paint job starts long before the brush touches the wall. The process below outlines the best sequence to achieve a lasting finish.
Surface Preparation
Clean all areas to be painted. Remove dust, grease, old paint flakes, or existing failed caulk. On exteriors, pressure washing can help eliminate dirt and mildew. Indoors, a damp rag and mild cleaner work well.
Repair and Prime if Necessary
Fill nail holes, cracks, or dents with a filler suitable for the surface. Once dry, sand smooth. If the surface requires priming—especially on raw wood or patched areas—apply primer before caulking. Primer prevents the caulk from soaking into the surface unevenly and improves its adhesion.
Apply the Caulk
Use a paintable latex or siliconized acrylic caulk designed for the area you’re working on. For interiors, latex caulk works well around trim and baseboards. For exteriors, choose a flexible, weather-resistant formula.
Cut the caulk tube nozzle at a 45-degree angle and apply a steady bead into gaps or seams. Smooth it with a caulk finishing tool or damp finger for a clean line. Allow the caulk to dry fully according to manufacturer instructions—typically 24 hours—before painting.
Paint Over the Caulk
Once dry, paint over the caulked joints as part of your regular painting process. This step seals the caulk and provides a uniform finish. Be sure the paint overlaps slightly onto the surrounding surfaces to ensure complete protection.
Choosing the Right Caulk for the Job
Not every caulk is suitable for painting. Some products are designed purely for sealing and won’t hold paint properly. Always check the label for “paintable” on the tube.
Latex caulks are most common for painting because they are easy to apply, smooth, and clean up with water. They also expand and contract slightly with temperature changes, preventing cracks. For areas exposed to heavy moisture or outdoor conditions, siliconized latex or urethane-based caulks offer extra durability.
Avoid 100% silicone caulks for paint projects unless you’re sealing areas that will never be painted, like around plumbing fixtures or glass joints. Silicone repels paint, leading to streaks and poor adhesion.
Timing and Conditions Matter
Caulking and painting success depend heavily on timing and environment. Temperature, humidity, and drying time all affect how well caulk adheres and how smoothly paint applies afterward.
For exterior work, avoid caulking or painting during extreme temperatures or high humidity. Caulk that cures too quickly or too slowly can shrink or crack. Aim for moderate conditions—ideally between 50°F and 80°F—and allow sufficient drying time before applying paint.
For interiors, proper ventilation helps caulk cure evenly and prevents paint from trapping moisture beneath its surface.
Common Mistakes to Avoid
Several missteps can compromise the quality of your finish:
- Skipping primer on raw or porous surfaces, causing uneven caulk adhesion.
- Applying too much caulk, which leads to bulky seams that are difficult to smooth or hide under paint.
- Painting too soon, trapping moisture inside the caulk and causing blistering or cracking later.
- Using non-paintable caulk, which results in streaks, uneven coloration, or peeling paint.
- Ignoring old caulk removal, which prevents new caulk from bonding correctly.
Paying attention to these details helps ensure a durable, professional-looking finish that stands up to time and weather.
How Professional Painters Handle Caulking and Painting
Experienced painters follow a strict order of operations to achieve consistent results. They begin by inspecting surfaces, removing failed caulk, and applying new product only where necessary. Each bead is carefully smoothed for uniformity. Once dry, the caulk becomes part of the painted surface—invisible to the eye but essential for protection.
Professionals also know how different caulks react under various conditions. They select formulas that balance flexibility, adhesion, and paintability to match the materials in use—whether that’s wood, fiber cement, metal, or plaster.
Homeowners who take on their own painting projects often skip or rush the caulking process, focusing more on color than preparation. That’s why professional painters consistently deliver a longer-lasting finish that looks sharp for years.
Final Thoughts
Caulking before painting is not just a recommendation—it’s the right order for achieving a lasting, attractive finish. Proper preparation ensures that paint bonds correctly, surfaces stay sealed, and the entire coating system performs as intended.
Done right, caulking and painting work hand in hand to create a home exterior or interior that looks beautiful and resists wear. For homeowners who want the peace of mind that comes from expert surface preparation, professional painters like Alpha Painting LLC bring the experience and precision needed to deliver clean lines, smooth finishes, and results built to last.