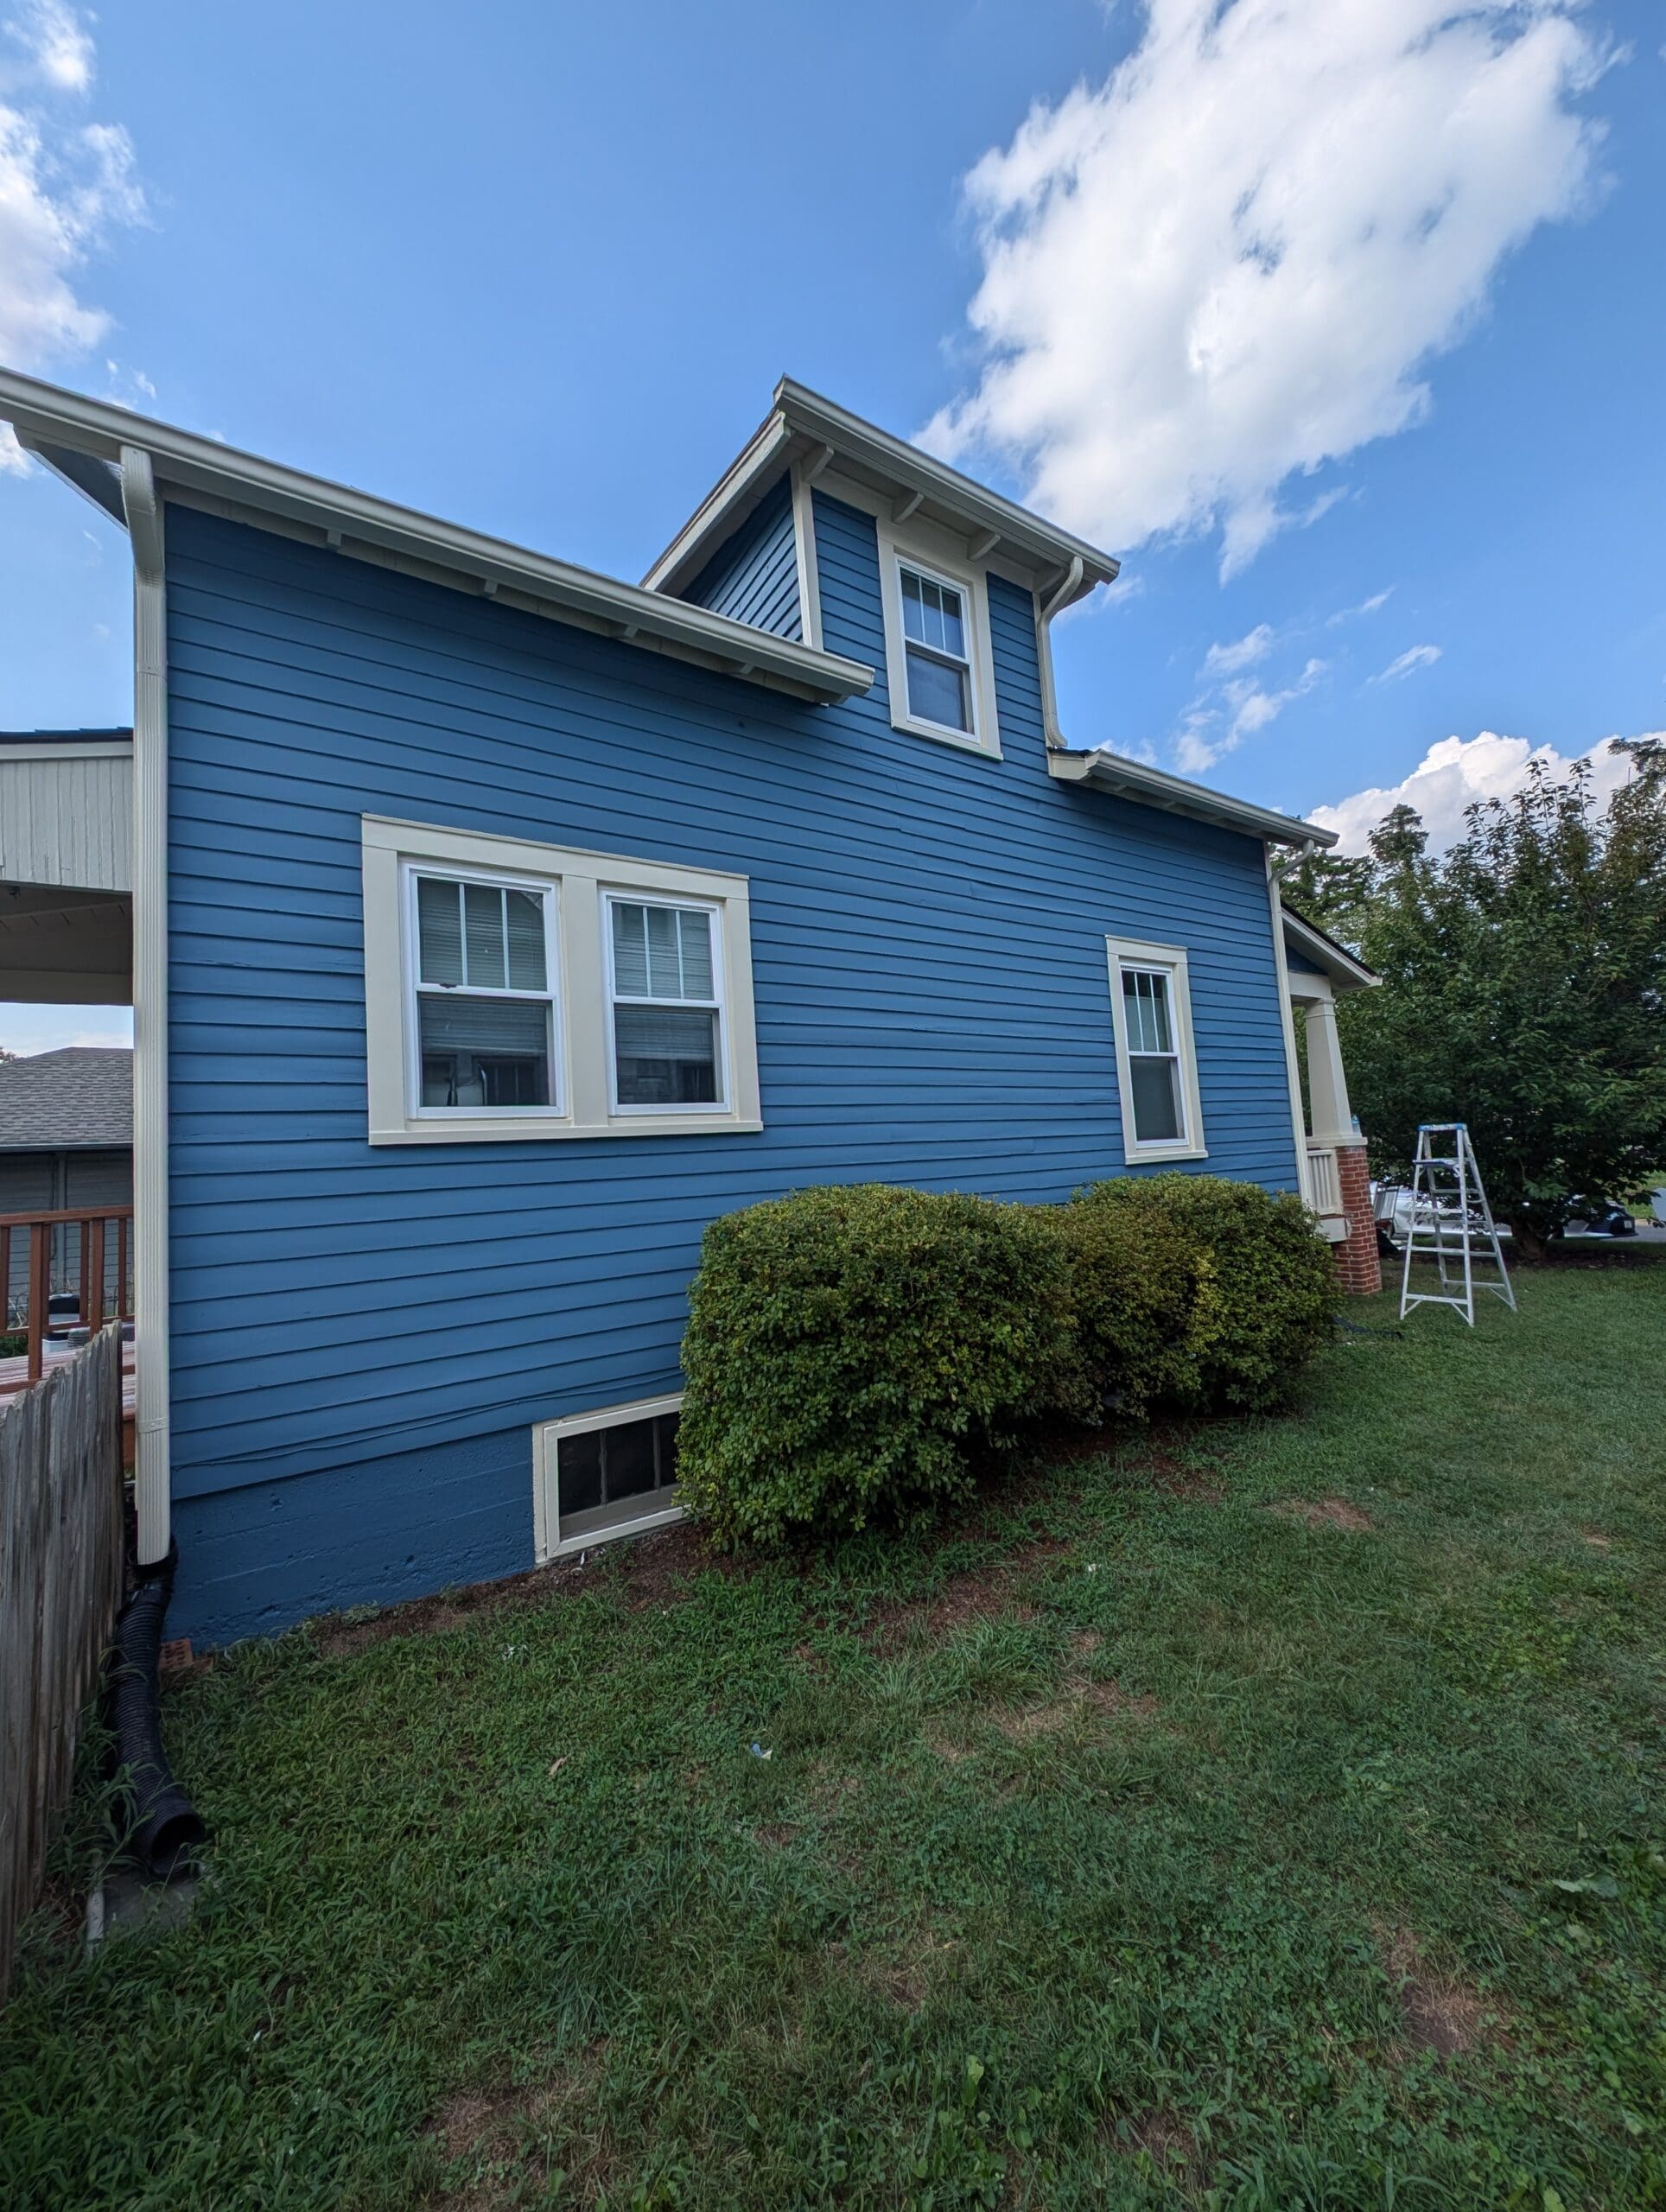
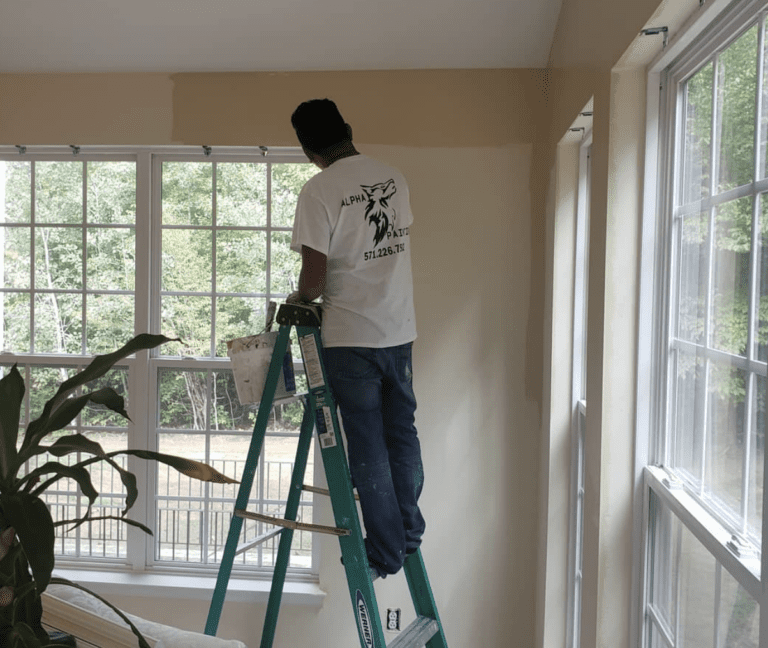
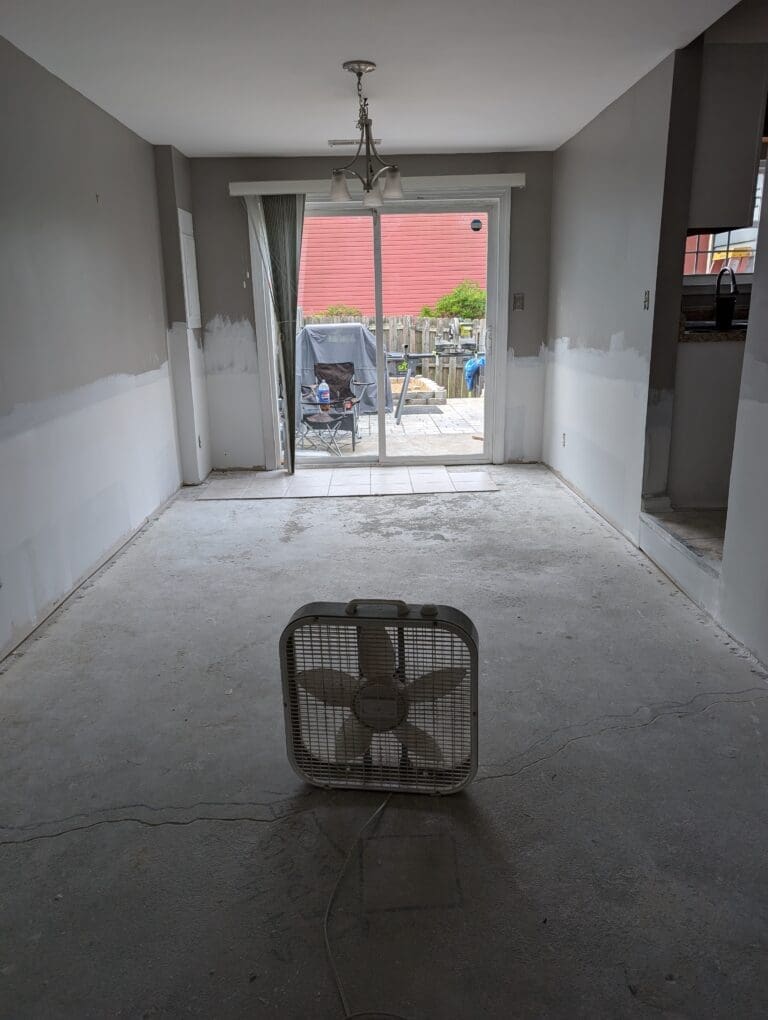
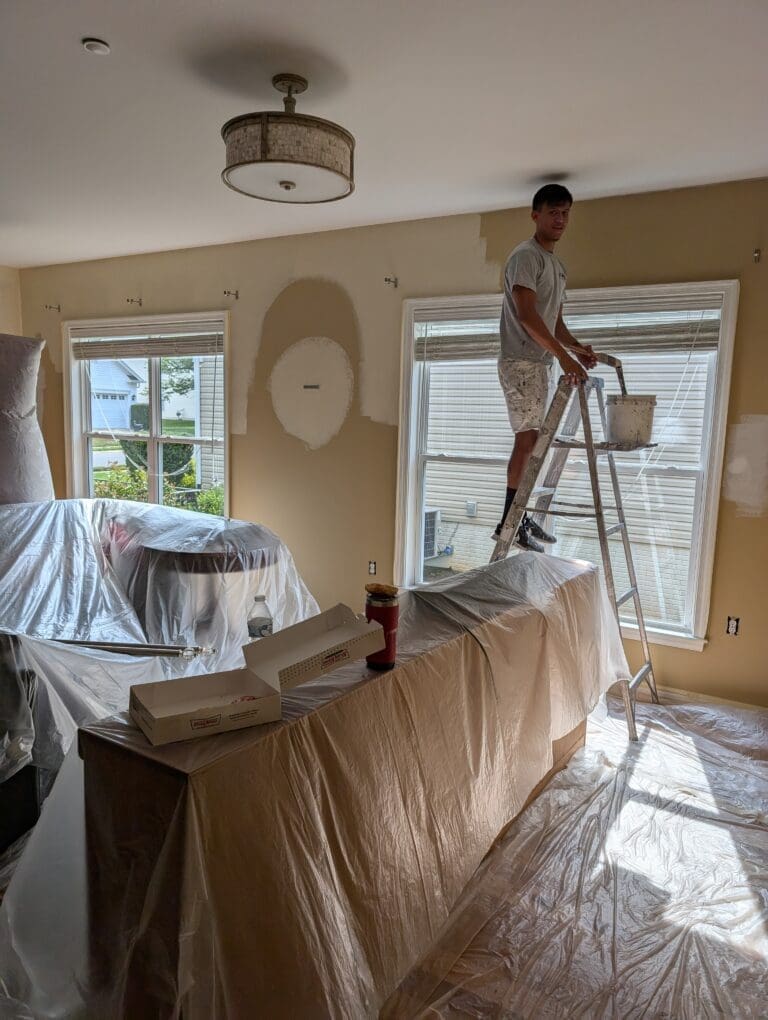
How to Prepare Your Home for Exterior Painting
A high-quality exterior paint job starts well before the first drop of paint touches the siding. Proper preparation is essential, and skipping any of these steps can lead to early peeling, cracking, or uneven results. Whether you’re tackling the job yourself or hiring professionals like Alpha Painting LLC, getting your home ready ensures the work looks sharp and lasts longer. Preparation isn’t just about aesthetics—it protects your investment and avoids future repairs.
Table of Contents
Start with a Thorough Inspection
The first step in preparing your home for exterior painting is taking a detailed look at the condition of the surfaces. Walk around your property and check for peeling paint, mildew, rot, cracks in caulking, and warped siding. Look at areas exposed to more moisture or direct sun, since these typically suffer the most wear and tear. Pay attention to wood trim, fascia boards, door frames, and window sills—spots that often get overlooked but take a beating from the elements.
Any existing damage should be noted before you start. Painting over issues like wood rot or water damage won’t solve the problem; it’ll just hide it temporarily and lead to bigger headaches later. Soft wood, separated joints, or swollen trim boards are signs of moisture-related damage and should be repaired or replaced before painting begins.
Wash the Exterior Thoroughly
Over time, the exterior of your home collects layers of dirt, mildew, pollen, and chalky residue from old paint. Applying new paint on a dirty surface is a recipe for poor adhesion. That’s why a deep clean is critical before anything else.
Most professionals recommend power washing the exterior to remove all debris. This should be done with care—too much pressure can damage siding or force water behind panels, especially on older homes. Using the right tip, pressure level, and cleaning solution is key. Areas with heavy mildew or algae may require a mold-killing detergent to completely clean the surface.
Once washed, the house needs time to dry completely. Depending on weather conditions, this could take 24 to 72 hours. Skipping this drying period increases the risk of trapping moisture under the paint, which can cause bubbling and early failure.
Scrape and Sand Flaking Paint
After cleaning and drying, it’s time to address any old, peeling paint. Flaking or bubbling paint should never be painted over. These areas should be thoroughly scraped down to a solid surface. Hand scrapers work well for smaller spots, while power sanders are useful for larger areas.
Sanding smooths out the rough edges and helps feather the surface between bare wood and existing paint, which creates a seamless finish when repainted. Even areas without peeling should be lightly sanded to help the new paint adhere better. A dull, chalky surface doesn’t hold paint well, so taking the time to scuff it up pays off in durability.
Be mindful of homes built before 1978—there’s a strong chance they contain lead-based paint. Special safety precautions and EPA-certified procedures are required when disturbing this kind of paint. It’s best to consult professionals in these cases.
Repair Damaged Surfaces
Exterior painting doesn’t hide imperfections—it highlights them. Cracks in siding, gaps around trim, loose nails, and damaged caulking should all be addressed before painting. Use exterior-grade fillers for small holes or cracks in wood and siding. Gaps between boards or around windows and doors should be filled with high-quality, paintable caulk.
For wood rot, repair or replacement is non-negotiable. Painting over rotted areas traps moisture and leads to larger structural issues. Trim pieces, siding panels, or soffits that show signs of deterioration should be replaced before continuing. Skipping this step may save time short-term, but it undermines the entire project.
Nails or screws that have popped out or worked loose should be reset. Any fasteners that have rusted need to be removed and replaced with corrosion-resistant alternatives. Rust stains can bleed through paint and damage your fresh finish.
Protect Surrounding Areas
Before the first can of paint is opened, anything that shouldn’t get painted needs to be covered. This includes landscaping, walkways, outdoor lighting, windows, and hardware. Drop cloths or plastic sheeting should be used to cover shrubs and flower beds, but not sealed too tightly—plants still need airflow.

Masking tape and painter’s plastic are useful for covering windows, door hardware, and other details you want to protect. Avoid using duct tape or other adhesives that can leave residue or pull off finishes when removed. Proper protection during prep and painting prevents unnecessary cleanup or damage to your property.
Additionally, make sure outdoor furniture, grills, or yard tools are moved away from the work area. This creates space for ladders, tools, and safe movement for painters. Anything that could become a trip hazard should be relocated until the job is complete.
Prime Where Necessary
Not every surface needs a primer, but many do. Bare wood, patched areas, or spots where the previous paint has been completely removed should always be primed before painting. Primer creates a uniform surface, blocks stains, and improves adhesion for the topcoat.
Using a quality exterior primer also helps seal porous surfaces like raw wood or masonry. This prevents uneven absorption, which can lead to blotchy finishes or more coats of paint than necessary. Tinted primers can also help enhance coverage for bold or deep-colored topcoats, reducing the number of paint layers needed.
If you’re painting over oil-based paint with a water-based product, priming is essential to avoid peeling and cracking later. Similarly, if you’re making a drastic color change—especially from dark to light—primer creates a consistent base that makes the new color pop.
Choose the Right Timing
Weather plays a huge role in exterior painting. The best time to paint is during mild, dry conditions. Temperature, humidity, and sun exposure all affect how paint dries and adheres. Paint too early in the morning, and dew can interfere. Paint too late in the day, and cooler evening temps can prevent proper curing.
Ideal temperatures for most exterior paints range between 50°F and 85°F, with low humidity and no rain in the forecast for at least 48 hours. Direct sunlight can also speed up drying too quickly, causing lap marks and uneven coverage, so working around the house in stages—following the shade—is often necessary.
If rain is on the way, it’s best to postpone. Wet surfaces or high humidity can prevent paint from sticking properly and cause issues like blistering or bubbling. Keeping an eye on the weather forecast is just as important as choosing your paint.
Communicate With Your Painting Contractor
If you’re working with a professional crew, stay in touch throughout the prep process. A reliable company will handle most of the prep work, but you still play a part. Make arrangements for pets, discuss access to outdoor water sources and electrical outlets, and clarify your expectations about cleanup and protection of your property.
Let your contractor know about any special concerns, such as fragile landscaping or security systems. Being on the same page about schedule, noise, and safety helps avoid surprises and keeps the project moving smoothly.
At Alpha Painting LLC, we always schedule a walkthrough before beginning exterior work to identify areas that need extra prep and answer homeowner questions. That conversation sets the tone for a job done right, from start to finish.
Final Walkthrough Before Painting
Once everything has been cleaned, repaired, sanded, primed, and masked, do a final walkthrough. Look over corners, window trim, and entryways one last time. Check that the house is completely dry, all repairs are complete, and the protection is secure. This is the last chance to catch any missed spots before the topcoat is applied.
Make sure tools, ladders, and paint supplies are ready to go. If you’re doing the job yourself, line up your materials and double-check the color codes on each can. For those hiring painters, your prep helps the crew start strong and stay on schedule.
Preparing Right Means Painting Once
Exterior painting is more than just picking a color and buying paint. The real success of the job lies in the preparation. Cleaning, sanding, repairing, and protecting take time, but they create the solid foundation your new paint needs to perform well for years. A rushed or poorly prepped surface will need to be redone far sooner, turning a weekend project into a recurring expense.
By focusing on preparation, you extend the life of the paint, enhance curb appeal, and protect the structure of your home. Whether you’re tackling the project on your own or working with experts, these steps are non-negotiable if quality is the goal.

